ASTRO-PHYSICS GTOCP4 Handmatig - Pagina 7
Blader online of download pdf Handmatig voor {categorie_naam} ASTRO-PHYSICS GTOCP4. ASTRO-PHYSICS GTOCP4 13 pagina's. First session with control box

11. Verify the other information, and then click the "Save"
button.
12. If connected to a GTOCP3, power down and unhook it.
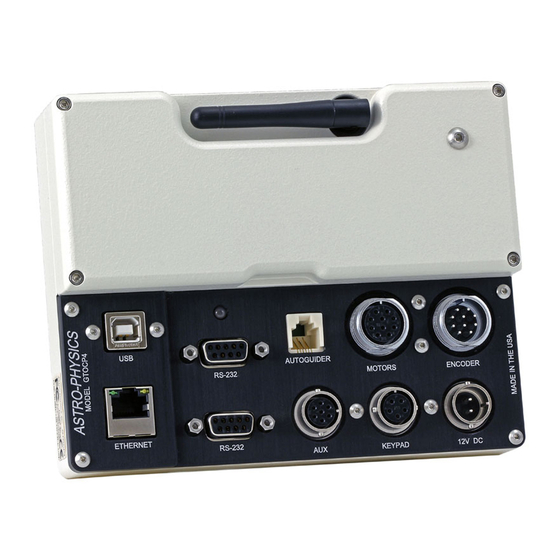
13. Attach the GTOCP4 to the mount.
14. Connect all cables that you will use except Ethernet and the
keypad to the GTOCP4.
15. Power the GTOCP4 up.
16. If you will be using the USB connection, be sure you have
determined the correct COM port and entered it into APCC's
Connection group box.
17. Connect APCC to the GTOCP4 by clicking the "Connect"
button under Mount.
18. If you had the auto-init checked in the Advanced Settings
window, APCC will initialize the mount after the specified
wait time.
19. If auto-init was unchecked, go to the menu bar and open Settings => Initialize Mount. Click the
"Initialize" button.
20. REMEMBER to change the "Unpark from" settings back to "Last Parked" first in the Park tab, then
confirm that it changed in the Initialize window. Do NOT initialize a second time!
You should now be fully initialized and pretty well calibrated with the sky. Enjoy!
AP V2 ASCOM Driver, version 5.09.01 (latest release version)
These instructions assume you are NOT using APCC, and that the AP V2 driver is your primary means
of mount control.
Note, however, that you must use this driver (or later version if one has come out when you read this)
with APCC v1.5.0.x (or later) If you are using the AP V2 Driver along with APCC, let APCC initialize the
mount for the first time.
Link to most recent driver:
1.
Install FTDI Driver on your PC if you will use USB (see section below).
2.
Install the GTOCP4 on to your mount and connect the mount's cables and power cable.
3.
Connect either a USB cable from PC to CP4 or else a serial cable from PC to CP4.
4.
Determine the COM port number for the connection.
5.
Open the Setup Telescope Window. If you do not have the shortcut on your desktop, it will be
under Start => All Programs => Astro-Physics => ASCOM Driver.
6.
Set the AP V2 ASCOM driver to use this COM port.
7.
Verify your other ASCOM settings.
a. Check your site information.
b. Be sure that you have checked the box to set the Latitude and Longitude.
c. DO NOT try to get the Latitude and Longitude from the mount! It will have test coordinates
used here at Astro-Physics.
d. Change the control box to GTOCP4.
http://www.gralak.com/apdriver
7
