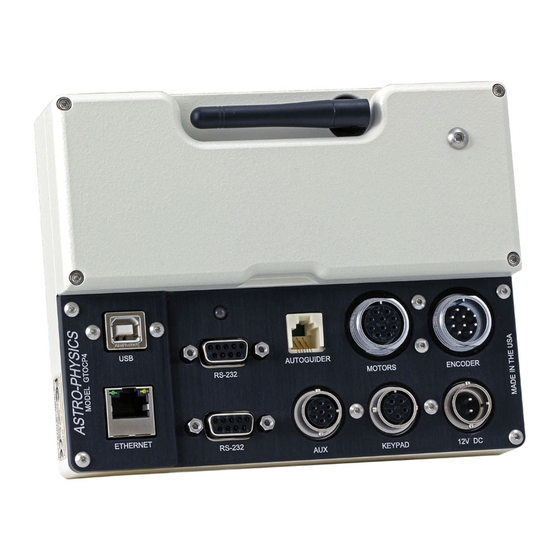
ASTRO-PHYSICS GTOCP4 Handmatig - Pagina 6
Blader online of download pdf Handmatig voor {categorie_naam} ASTRO-PHYSICS GTOCP4. ASTRO-PHYSICS GTOCP4 13 pagina's. First session with control box

APCC, version Public Beta 1.5.0.x
There are two version of APCC from which to choose – the released version 1.0.3.4 or the Public Beta
version. This information pertains to the RECOMMENDED Public Beta version.
You may use either traditional serial or USB (which is effectively serial) to connect to the GTOCP4 for
this first initialization session. Later, you will also be able to use Ethernet or WiFi for your connection.
If you wish to use USB, you MUST install the FTDI driver first – before you plug the cable into the
GTOCP4's USB port. Please refer to the relevant section later in this document.
For this version of APCC, you must also be using the latest version of the AP V2 ASCOM Driver –
v.5.09.01 or later. Please install it, if needed, before you make your first initialization connection.
If you are using the Public Beta version, please refer to the APCC Installation and Getting Started
Quick Guide (v1.5.0.x). The link is available on the download page of our website as a separate
document and is also included within the full APCC manual and available through Help if you have
opened the program. Note that this Getting Started Quick Guide is significantly different from the one
for 1.0.3.4!
There are specific instructions that you should read if you are upgrading from a previous version of
APCC as well as procedures for "Initial Setup – Recommended 'Easy' Setup" for new and experienced
users.
For previous APCC 1.5.0.x users upgrading
from GTOCP3 to GTOCP4
1. Make sure that your Site information is
correct.
2. Select Serial/USB and your COM port in the
Connection group box.
3. Uncheck the "Auto-Connect" box in the Mount
box in the Connection group box if it is
checked.
4. Uncheck the "Auto-Connect" box in the AP V2
Driver box in the Connection group box if it is
checked.
5. a.) If you are still connected to your GTOCP3,
use APCC to park the mount at an AP defined
position – Park 1, 2, 3 or 4. (Don't use a
custom Alt/Az or current location.)
b.) If you have already removed the
GTOCP3, or if this is a new setup, manually
move the mount into the Park 4 position.
6. TEMPORARILY set the "Unpark From" in the
park tab to that same park position from #5
above.
7. From the menu bar at the top of APCC, open:
Settings => Edit Initialize Mount Settings...
8. Again, TEMPORARILY set the "Unpark from:" to the same park position you used in #5 above.
9. Make sure the Site that is selected in the Initialize Astro-Physics Mount window is correct.
10. Leave Set PEM checked, but change it to "Disable PEM"
(Recommended for the GTOCP4)
6
