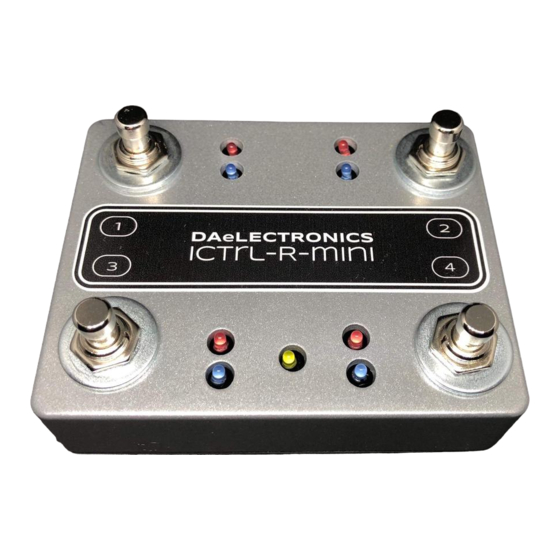
DAELECTRONICS iCtrl-R-mini Operationele handleiding - Pagina 3
Blader online of download pdf Operationele handleiding voor {categorie_naam} DAELECTRONICS iCtrl-R-mini. DAELECTRONICS iCtrl-R-mini 8 pagina's. Pocket midi controller
Ook voor DAELECTRONICS iCtrl-R-mini: Operationele handleiding (8 pagina's), Operationele handleiding (8 pagina's), Bedieningshandleiding (8 pagina's)

Warning and Calibration
Warning: pay much attention when insert and remove your USB cable from the iCtrl-R Mini input. You could damage it irreparably!!!
Calibration: b efore you start using the Expression pedal (the pedal shall ALWAYS be disconnected/connected to the controller before energizing
the controller itself) you need to activate the "Calibration" by pressing the switch 1 in m ode 1 until the rapid flashing of the LED 5.
Immediately after entering t he calibration mode, depress the pedal backwards to the minimum heel setting then sweep to the maximum toe
setting, this will ensure you calibrate your pedal with the
blink, mode 1 will be activated and the pedal can begin to communicate properly with the iPad (tested with Amplitube and Jamup & Bias FX)
or even a PC/MAC(tested with Guitar Rigand Amplitube & Bias FX) or other MIDI device . The default MIDI channel for
The calibration values will be stored until the next calibration.
MODE 1
At the start up the controller is set on mode 1 – now we can send program changes as follows:
To send the program change 01> click Switch 1
To send the program change 02> click Switch 2
To send the program change 03> click Switch 3
To send the program change 04> click the switch 4
To send the program change 05> long click on the switch 1
To send the program change 06> long click on the switch 2
To send the program change 07> long click of the switch 3
To send the program change 08> long click of the switch 4
MODE 2
To switch from mode 1 to mode 2 please hold switch 2 for approx 1 second until led 2 blinking.
During mode 2 the controller can send MIDI control changes as follows:
To send control change 01 (CC#1)> click and release of switch 1
To send control change 02 (CC#2)> click and release of switch 2
To send control change 03 (CC#3)> click and release of switch 3
To send control change 04 (CC#4)> click and release of switch 4
To send control change 05 (CC#5)> long click and release of switch 1
To send control change 06 (CC#6)> long click and release of switch 2
To send control change 07 (CC#7)> long click and release of switch 3
To send control change 08 (CC#8)> long click and release of switch 4
. Now pressing one of the switches of
iCtrl-R mini
LED 1 will
iCtrl-R mini
is the #1.
iCtrl-R mini
2
