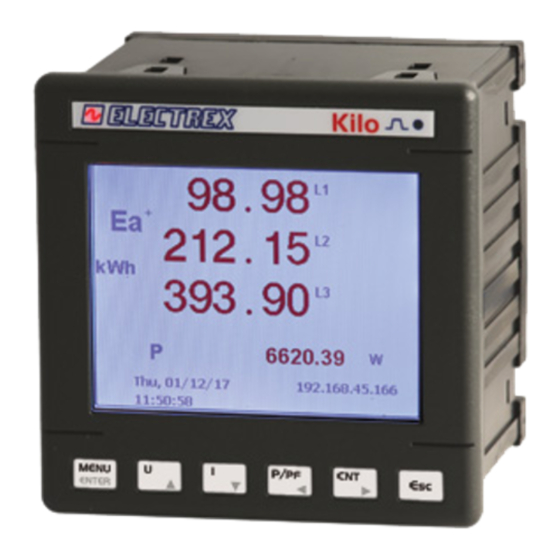
Electrex EXA 96 Installatiehandleiding - Pagina 4
Blader online of download pdf Installatiehandleiding voor {categorie_naam} Electrex EXA 96. Electrex EXA 96 4 pagina's.
Ook voor Electrex EXA 96: Installatiehandleiding (4 pagina's)

VOLTAGE CONNECTION
Use cables with max cross-section of 2,5 mm
to the clamps marked VOLTAGE INPUT on the instrument according to the applicable
diagrams that follow.
1P2W
L
N
U1 U2 U3
N
VOLTAGE INPUT
3P4W / 3P4W-B-3U / 3I
L1
L2
L3
N
U1 U2 U3
N
VOLTAGE INPUT
3P3W / 3P3W-B-3U
L1
L2
L3
U1 U2 U3
N
VOLTAGE INPUT
PHASE SEQUENCE
1-2-3
Correct sequence
1-3-2
Incorrect sequence
-----
Indicates that the device is not able to defi ne the sequence
Please consider that:
•
only the voltage sequence is detected;
•
the detection considers the hypothesis that the tensions are sinusoidal (or at least
slightly distorted) and belonging to a symmetrical (or almost) triad;
•
independently from the insertion 3W/4W, it is considered exclusively the sign of
voltage 2 and 3 in the zero-crossing of voltage for phase 1 - it is not calculated the
eff ective phase of the voltage fundamentals;
•
the phase sequence is indicated with the "L123", "L132", "L—" symbols next to
frequency, in the voltages displaying page.
It is assumed:
L1 is the voltage with phase 0°
L2 is the voltage with phase 240° (in delay to L1)
L3 is the voltage with phase 120° (in advance to L1)
akse srl Via Aldo Moro, 39 42124 Reggio Emilia Italy
Tel. +39 0522 924 244 Fax +39 0522 924 245 [email protected] www.akse.it
P.I. 01544980350 R.E.A. 194296
if stranded, 4 mm
if rigid and connect them
2
2
3I
L
N
U1 U2 U3
N
VOLTAGE INPUT
3P4W-B
L1
L2
L3
N
U1 U2 U3
N
VOLTAGE INPUT
2P2W / 3P3W-B
L1
L2
L3
N
U1 U2 U3
N
VOLTAGE INPUT
Cap. Soc. Euro 85.800,00 i.v.
CURRENT CONNECTION
Connect the CT outputs to the terminals marked I1, I2, I3 (CURRENT INPUT) of the
instrument according to the applicable diagrams that follow.
1P2W / 2P2W
3P4W-B / 3P4W-B-3U
I1
I2
I3
S1 S2 S1 S2 S1 S2
S1
S2
L1
P1
P2
L2
L3
3P3W / 3P4W / 3I
I1
I2
I3
S1 S2 S1 S2 S1 S2
S1
S2
L1
P1
P2
S1
S2
L2
P1
P2
S1
S2
L3
P1
P2
Note: Scrupulously respect the matching of phase between the voltage signals and current
signals. Failure to comply with this correspondence and connection diagrams gives rise to
measurement errors.
POWER SUPPLY
The instrument is equipped with a separate power supply. The power supply terminals
are numbered (17) and (18). Use cables with max cross-section of 2,5 mm
4 mm
if rigid.
2
POWER
RS-485
VOLTAGE INPUTS
SUPPLY
A B
V1 V2 V3 N
17
18
2
1
SERIAL LINE CONNECTION
POWER
VOLTAGE INPUTS
SUPPLY
V1 V2 V3 N
17
18
Max cable length: 1000 meters.
3P3W
I1
I2
I3
S1 S2 S1 S2 S1 S2
S1
S2
L1
P1
P2
L2
S1
L3
P1
3P3W-B / 3P3W-B-3U
I1
I2
I3
S1 S2 S1 S2 S1 S2
L1
L2
S1
L3
P1
POWER SUPPLY
1
230/240Vac +/- 10% 50/60Hz
2
F: 500 mA T
RS485
RS-485
Address
Baud rate
A B
Parity
Bit of Stop
Engineered and manufactured in Italy
Made
Pensato, progettato e prodotto in Italia
Subject to modifi cation without notice.
Edition 2019 01 28 ENG0264
S2
P2
S2
P2
2
if stranded,
27
38400
None
2
in
Italy
