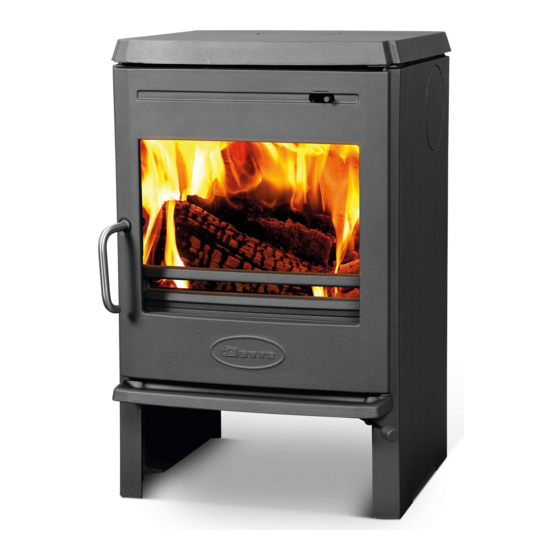
Dovre 360CB/3 Installatie-instructies en bedieningshandleiding - Pagina 6
Blader online of download pdf Installatie-instructies en bedieningshandleiding voor {categorie_naam} Dovre 360CB/3. Dovre 360CB/3 16 pagina's.

3.2.
Preparing the stove
Please inspect the stove for damage caused during transport immediately after
delivery and notify your distributor in case there are any defects. Do not put the
stove into operation in the meantime.
In order to avoid damaging the stove during installation and to make handling of
the stove easier, it is recommended to remove previously all loose parts (fire-
resistant bricks, ashtray, ...) from the stove. Note the location of those parts while
removing them, so that you have no difficulties in re-assembling the parts later on.
3.2.1. Assembling and installing the legs (if necessary)
Assemble both parts of the legs at the requested length using the
M6 bolts and rings. Tilt the stove backwards and mount the legs
on the pre-installed M8 bolts on the bottom plate of the stove.
3.2.2. Smoke outlet
Your stove is suitable for three connections: a top, a rear or a side
connection.
Select the type of connection that you want and break ou
the equivalent precarved opening, using the appropriate
tool. To do this you have to drill a 10mm hole in the middle
of the cover plate. Place the special tool with the bolt on
the inside of the cover plate en put the washer and the nut
on the bolt. Use a ring spanner and turn the nut until the
cover plate breaks out.
Remark: in case of enamelled stove, use a piece of cardboard (20cmx20cm) be-
tween the cover plate and the washer in order to protect yourself against enamel
fragments coming from the part.
Attach the connection collar, which is supplied
with the stove, to the fume outlet, using the two
fastening brackets on the inside and the nuts on
the outside (see sketch). Make sure that the
brackets correctly fit into their inserts at the left
and right hand side of the opening. For rear con-
nection, break out the precarved plate on the heat shield. A pre-made opening can
always be closed again using a lid which is fixed by means of a steel strip and a
bolt (see sketch). Such a lid is available as spare part.
Seal with stopper paint or paste, which is delivered together with the stove.
3.2.3. Assembling the "cold handle"
Assemble the different parts of the handle,
i.e. a screw M8x50, a wooden handle and a
nut, as indicated on the sketch.
For some appliances, this handle can be
hooked on a handle holder which can be
mounted on the base plate of the stove,
near the left front leg (see sketch).
6
350CB - 360CB - 350CB/SC - 350CB/3 - 360CB/3
03.27898.100
