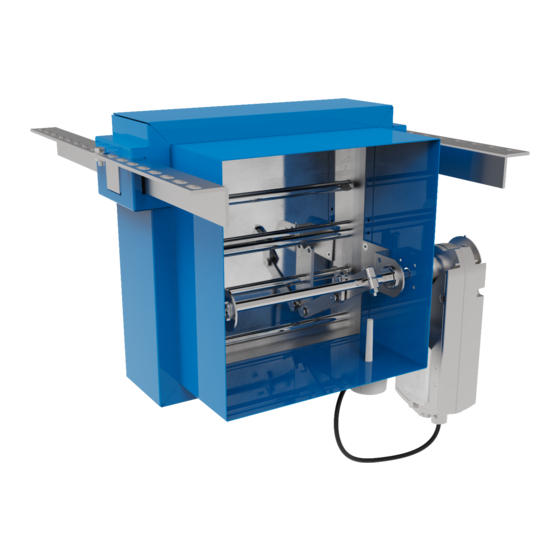
Advanced Air 2530 Installatie-, Bedienings- en Onderhoudshandleiding - Pagina 10
Blader online of download pdf Installatie-, Bedienings- en Onderhoudshandleiding voor {categorie_naam} Advanced Air 2530. Advanced Air 2530 16 pagina's. Air control fire & smoke damper

FIRE & SMOKE – 2530 TWO HOUR REMOTE FROM WALL
*
This is an example illustration –
installations through the wall may vary and
should be carried out in accordance with
the ductwork manufacturer's instructions.
Access door
Thermal probe
2530 W/AFS
PRODUCT
TBA
CLASSIFICATION REPORT NO.
TESTED INSTALLATION METHOD SHOWN. DIFFERING INSTALLATION METHODS TO THIS MUST BE APPROVED BY THE BUILDING CONTROL AUTHORITY (BCA) BEFORE PROCEEDING.
Ductwork insulation
3.5mm drywall screws
Fire-rated ductwork
tested to BS EN 1366-8
sti ening angle
Mineral wool insulation 85-115 kg/m
2x 12.5mm thick gypsum boards, forming pattress
Steel stud
15mm thick gypsum boards
Group A 122mm (or thicker) two hour rated flexible
supporting construction to BS EN 1363-1:2020
50x50x5mm
DUCT MOUNTED, TWO HOUR REMOTE FROM WALL
APPLICATION
E120 (VE I O) • E30 (VE I O) S
CLASSIFICATION
Preparation
1
Work out the opening size to be cut 120mm larger than the
nominal duct width/height, at a tolerance of ±5mm (for example
a 1,000 x 1,000mm duct requires a 1,120 x 1,120mm opening).
Installation sequence
2
Drill and rivet at 150mm centres, the 50x50x5mm stiffening
flange to the galvanised mild steel ductwork.
3
Pass the duct through the opening, so that the flange is
centralised in the wall.
*
4
Drop rod anchor points, and M10 drop rods to support the
galvanised mild steel ductwork, should be positioned within
350mm of the wall, on both sides.
*
5
Install Unistrut to the drop rods with M10 fixings, and adjust to
that they fully support the weight of the galvanised mild steel
ductwork, using a spreader plate. The position of the duct
should be adjusted so that the stiffening flange is centralised in
every axis.
6
Fill the wall opening around the duct with 85-115kg/m
wool insulation, on both sides of the wall.
7
Fit two layers of 200mm wide, 12.5mm thick plasterboard
around the damper, overlapping the joints, to form a pattress
around the galvanised mild steel ductwork on both sides of the
wall. The pattress must be affixed with drywall screws which bite
into the steel stud channel at 150mm centres, and sealed with
a bead of intumescent acrylic sealant to BS EN 13501-2, which
shall be applied to back of each pattress section before it is
fitted.
*
8
The damper is mounted to the duct using self tapping fixings, at
150mm centres. When the duct is slid over the damper spigot,
an overlap of up to 40mm is permitted, allowing for 10mm for
duct expansion.
9
Support the damper case using a single piece of Unistrut, hung
on M10 drop rods.
10
Galvanised mild steel ductwork and sealing of the duct should
be in accordance with DW144.
11
The damper operation should be checked to ensure that it fully
opens and closes.
12
When the damper installation has been completed, checks
should be made to ensure the installation is secure, and there is
no movement.
13
Complete DW145 Fire Damper Certificate.
mineral
2
*
10
