AmScope PM200B Gebruikershandleiding - Pagina 8
Blader online of download pdf Gebruikershandleiding voor {categorie_naam} AmScope PM200B. AmScope PM200B 16 pagina's.

PM200 Series
Getting Started
Assembly
1. First, take the styrofoam container out of the cardboard carton and lay it on its side, paying attention to which
side is labeled up. Remove the tape and open the container carefully so as to avoid dropping and damaging the
optical items. Check carefully to ensure that all parts and accessories are intact.
2. Check the packing list to ensure that you're received all items. Please note that this can vary depending on
which model you've purchased, and is generally listed on www.amscope.com at the items' details page for your
specific model.
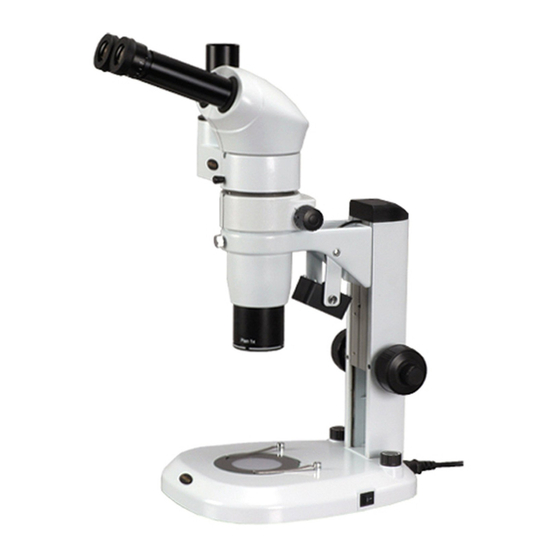
3. Remove the microscope body from the box and remove the plastic protective covering. The body of the micro-
scope is composed of the base that comes with your unit, the focusing rack, and the head lock screw.
4. After mounting the focusing rack to the base (if not already attached in shipping), slide the objective of the
microscope into the hole and secure with included head lock screw.
5. For the PM200T models, screw the photo port onto the top of the microscope head (trinocular C-mount
port).
6. Remove the eyetube caps and drop the desired eyepieces into the eyepiece ocular tubes. Be sure to avoid
touching the lens to ensure no artifacts appear in your image.
7. Remove the cap from the objective lens.
8. Plug in the microscope and turn it on if a light source is included (or refer to your specific light source in-
structions for mounting/turning on if an external source). If no light emerges from the light source, adjust the
dimmer knob near the power switch.
9. If viewing an opaque sample, use a top light source, however while using a translucent sample, either light
source can be used.
8
