Draper PT142K Gebruikershandleiding - Pagina 11
Blader online of download pdf Gebruikershandleiding voor {categorie_naam} Draper PT142K. Draper PT142K 18 pagina's. 135w 230v
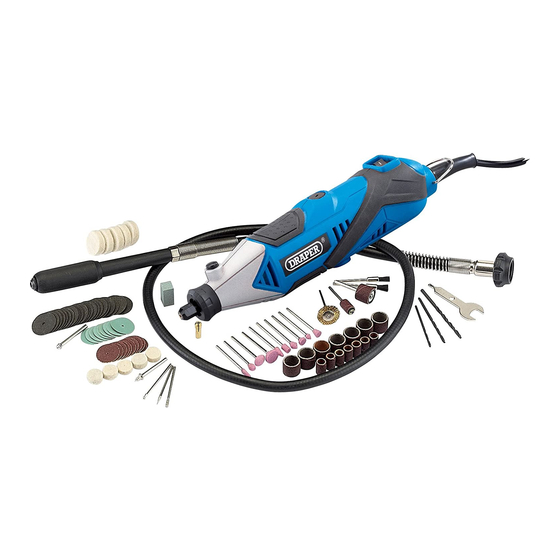
with flexible drive shaft
Ook voor Draper PT142K: Instructies voor (18 pagina's), Gebruiksaanwijzing (18 pagina's)

8.
BASIC MULTI-TOOL OPERATIONS
8.1 ACCESSORY INSTALLATION/ REPLACEMENT
- FIG. 1
This Multi-Tool is designed for use with 1.9, 2.3 & 3.0mm
shank accessories only.
WARNING: Use bits of the correct shank diameter suitable
for the speed of the tool.
Selection of the correct accessory, suitable for the
intended application is vital. Seek guidance if uncertain of
selection.
Press the spindle lock button
nut
using the spanner supplied.
Choose from the collets provided, the appropriate size for
the accessory shank. If the size is not known insert the bit
into the collet. The collet which offers a machine fit to the
shank is the correct one to use. Do not force the bit into
the collet.
Place the collet into the spindle before loosely replacing
the collet nut
.
Slide the accessory in as far as possible before tightening
the collet nut. Press the spindle lock button
tighten the collet nut with the spanner provided to lock
the bit in place. If the accessory seems loose, reduce the
collet size to ensure the bit is secured correctly.
NOTE: Do not overtighten the collet nut
To lock the spindle inside the flexible shaft
on the colar
.
8.2 FITTING FLEXIBLE DRIVE SHAFT -
FIGS. 2 - 3
Remove collar
. Depressing spindle lock button
loosen the collet nut. Install the 3.0mm collet and loosely
replace the collet nut.
Insert the flexible drive shaft rod
chuck and lock. Screw the drive shaft collar
housing.
8.3 SWITCHING ON AND OFF - FIG. 4
Press switch
into the 'I' position. This will start the
machine. Press switch to the 'O' position - this will stop the
machine.
Using the variable speed dial
the speed of the collet chuck:
Position 1 - SLOW
Position 3 - MEDIUM
Position 6 - FAST
Select the correct speed for the work and type of bit you
are using.
and unscrew the collet
and
, pull back
into the collet
onto
will enable you to alter
FIG.1
FIG.2
and
FIG.3
FIG.4
9
