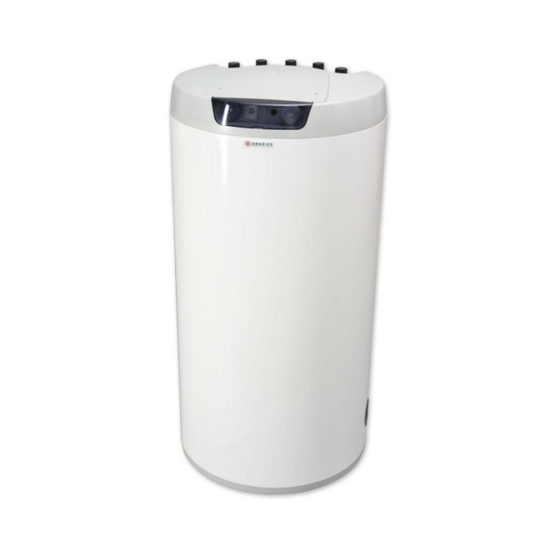
Drazice OKC 250 NTRR Bedienings- en installatiehandleiding - Pagina 16
Blader online of download pdf Bedienings- en installatiehandleiding voor {categorie_naam} Drazice OKC 250 NTRR. Drazice OKC 250 NTRR 19 pagina's. Water heaters for solar systems
Ook voor Drazice OKC 250 NTRR: Bedienings- en installatiehandleiding (17 pagina's)

2.4 PUTTING THE HEATER INTO OPERATION
PROCEDURE OF FIILING HEATER WITH WATER
1. Open the stop valve on the entry to the heater.
2. Open the hot water valve on the combination faucet. Once water starts flowing out through the
combination faucet the filling is completed and the faucet shuts off.
3. Check the joints for tightness.
4. When commencing operation, flush the heater until the cloudiness in the water is gone.
5. Make sure to fill in properly the warranty certificate.
2.5 INSPECTION, MAINTENANCE, CARE FOR THE APPLIANCE
If water contains too many minerals, an expert has to come to remove the scale that forms
inside the tank, as well as free sediments. This has to be performed after one or two years of
operation. The cleaning is carried out through the hole in the flange – dismantle the flange lid
and clean the tank. A new sealing has to be used for re-fitting. Since the inside of the heater
has special enamel, which must not get in contact with the scale removing agent – do not
work with a lime pump. Remove the lime layer with a timber and suck it off, or wipe it off
with a clout. After that, the appliance must be rinsed thoroughly and the heating process is
checked the same as during the initial putting in operation. Do not use any abrasive cleaning
agents (such as liquid sand, chemicals – acid, alkaline) or dye thinners (such as cellulose
thinner, trichlor, and the like) to clean the outer shell of the heater. For cleaning use a wet
clout and add a few drops of liquid cleaning agent for household applications. Repetitive
water heating causes limestone sediment on both the tank walls and chiefly the flange lid.
The sedimentation depends on the hardness of water heated, its temperature, and amount
of hot water consumed.
We recommend checking and cleaning the tank from scale and eventual replacement of the
anode rod after two years of operation. The anode life is theoretically calculated for two
years of operation; however, it changes with water hardness and chemical composition in the
place of use. Based on such an inspection, the next term of anode rod exchange may be
determined. If the anode is only blocked with sediments clean its surface and, if used up,
mount a new one. Have the company in charge of service affairs clean and exchange the
anode. When draining water from the heater, the combination faucet valve for hot water
must be open, preventing occurrence of under-pressure in the heater tank which would stop
water from draining.
ANODE ROD EXCHANGE METHOD
1. Turn off the boiler control voltage.
2. Drain about 1/5 of the volume of water from the heater.
PROCEDURE:
3. The anode is screwed in under the plastic guard in the top lid of the heater.
4. Unscrew the anode using adequate wrench.
5. Pull the anode out and follow reversed steps to install a new one.
6. During the assembly, make sure the ground wire is connected properly; it is essential for proper
anode function.
7. Fill the boiler with water.
Close the water entry valve to the boiler.
Open the hot water valve on the combination faucet.
Open the boiler drain tap.
- 16 -
