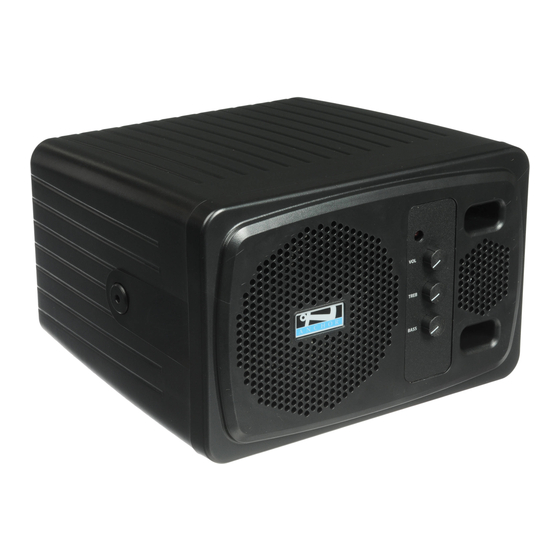
BASIC SYSTEM OPERATION
WIRELESS MICROPHONE
POWER/VOLUME
Made in USA
anchoraudio.com
AN-MINI
OFF
SYSTEM POWER/VOLUME
1. Position the speaker to face your audience
2. Connect a microphone to the 1/4" Mic Input. Or to connect an external audio device, use a
3.5 mm (AUX) cable in the Line In.
3. To power on the unit, turn the main system volume knob clockwise, which also controls the
wired inputs. Adjust volume as needed.
RECHARGEABLE BATTERY KIT
Optional accessory
For applications where the AN-Mini/MiniVox PA system is used frequently, the RC-30
rechargeable battery kit is available. This kit includes 10 rechargeable NiMH batteries and an
AC charging adapter. When fully charged, the batteries provide approximately 10 - 12 hours of
operation. New batteries must be charged for at least 6 hours prior to first use.
Using the Rechargeable Battery Kit (RC-30)
1. Install the 10 rechargeable NiMH batteries into the unit. The battery compartment is
double sided.
2. Insert the charger plug into the Power Input Jack labeled DC IN
3. Plug the AC adapter into a power outlet for 4 - 6 hours to fully charge
NOTE: See drawing # 255-0345-000 REV A for dimensions & materials information
Cycling the Batteries
For extended battery life, we recommend you fully charge the batteries once each month during
periods of infrequent use. Always fully recharge batteries before storing.
CAUTION: NEVER recharge other types of batteries. Doing so can result in battery explosion.
Use only rechargeable Nickel-Metal Hydride (NiMH) batteries.
NOTE: PA System CAN Be Used While Charging!
MICROPHONE INPUT
Label Artwork: AN-30
February 1, 2018
Anchor Audio, Inc.
250-0345-000 REV A
PAIRING ANCHORLINK WIRELESS MICROPHONES
Made in USA
VOLUME/POWER KNOB
anchoraudio.com
1. Turn on Mic Receiver (Volume knob clockwise) then hold Pairing button until green light
for Mic 1 flashes, release button.
AN-MINI
2. Turn on Mic then press and hold Mute button until Mic red light turns off, release button.
OFF
3. Press and hold Mute button again until Mic green light flashes.
4. The Mic is paired when the green light is solid on both the Mic and Mic Receiver.
5. Repeat these steps for Mic 2 on the same Mic Receiver (Mic 1 will stay paired through
this process).
NOTE: You may pair only one microphone at a time. Each Mic Receiver included supports two wireless microphones.
One Mic Receiver = Two wireless microphones supported. You will only need to pair your microphone once.
UN-PAIR WIRELESS MICROPHONES
1. Start with the speaker On and the Mic Receiver in the Off position (Volume knob turned
counter-clockwise until "click").
2. Press and hold the Pairing button on the Mic Receiver.
3. While holding the Pairing button, turn on the Mic Receiver (Volume knob clockwise).
4. Continue to hold the Pairing button. Lights will appear in the order listed below. Process
takes approximately 25 seconds:
• Mic 2 – Green blinking
• No Link – Red blinking
• Pause
• Mic 1 – Green blinking
• No Link – Red
5. Once the No Link red light is solid, both Mics have been un-paired.
NOTE: This process un-pairs both Mics from a Mic Receiver. The Mics are not needed to un-pair from the Mic Receiver.
INDICATOR LIGHTS
Label

