Alentec & Orion 24720 Gebruikershandleiding - Pagina 5
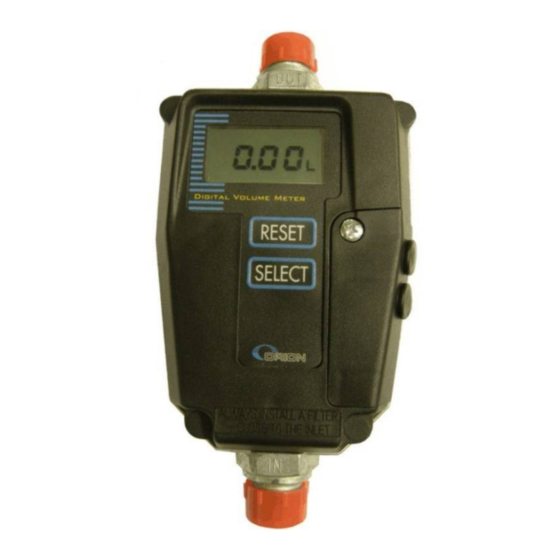
Blader online of download pdf Gebruikershandleiding voor {categorie_naam} Alentec & Orion 24720. Alentec & Orion 24720 8 pagina's. In line meter

Manual 24720_EN_2B
5. Calibration
Normally the meter does not need calibration if it is used for normal workshop oils but if fluids with high or low viscosities
or high or low flows are used calibration may be needed.
Also calibration may be needed after a long time of use especially if dirt is present in the fluid.
To make a usable calibration some rules has to be followed.
1.
The calibration works for any volume but recommended is at least 1 L.
2.
The measuring vessel must be of laboratory grade and absolutely empty. A prior
dispense can easily leave 0.1L or more even if it appears empty. Put the vessel upside down for a while or clean it
before each calibration dispense.
A really accurate calibration can only be made by a scale and knowing the density of the fluid.
3.
When a dispense is done all air has to be removed from the fluid. This can take a long time. It can be accelerated by
vacuum. If a scale is used the air does not matter.
5.1.1.
Calibration possibility
The meter can be calibrated +/- 10%. If this is not enough the meter chamber should be replaced.
If the calibration factor exceeds this during calibration the display will show an error message "E3" for a while.
Because of that this meter normally gives an accuracy of +/- 0,5% directly from stock for normal workshop oils and
has proved to maintain the accuracy after several 100000 of litres the most probable causes for this error is
Bad measuring vessel.
Measuring vessel not empty from the beginning.
Air in the oil not evacuated properly.
Wrong measured volume input.
5.1.2.
Calibration procedure
The calibration process is semiautomatic and started by entering configuration mode.
Press <RESET> and <SELECT> buttons simultaneous
and hold them down for 5 s. If successfully done the
display will change to this, showing that the meter is in
configuration mode. Now release the buttons.
Then press <SELECT> button to get into "Set unit"
mode. The display will change to.
Then press <SELECT> button again to get into
"Calibration" mode. The display will change to.
Then press <RESET> button to start the calibration
process. The display start switching between "dISP" and
"0.0000".
Now start dispensing. It does not matter how much you
dispense but to get a good calibration at least 1L is
recommended. During the dispense it will switch
between "dISP" and the dispensed volume.
When the decided volume is reached, in this case
1.5639L, release the handle of the meter so the flow
stops.
◄ ▬ ►
◄ ▬ ►
◄ ▬ ►
5(8)
