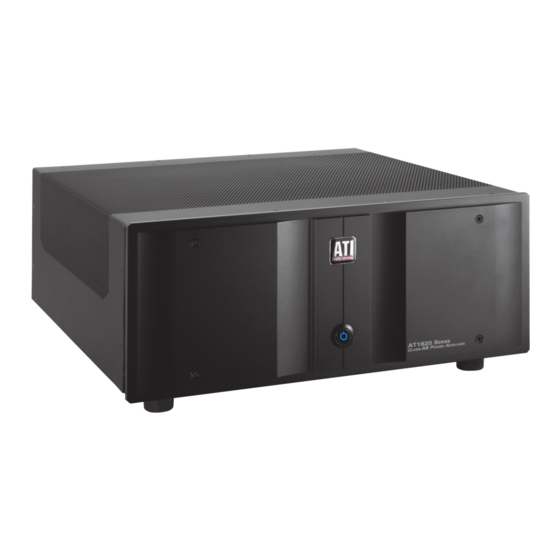
ATI Technologies AT1827 Gebruikershandleiding - Pagina 11
Blader online of download pdf Gebruikershandleiding voor {categorie_naam} ATI Technologies AT1827. ATI Technologies AT1827 14 pagina's.

Appendix A - Troubleshooting Guide
Your ATI amplifier is designed for trouble free operation. If you follow the instructions in this manual you should enjoy
many years of high quality listening enjoyment. However, as with any sophisticated electronic device, there may be oc-
casional problems upon initial installation, or during the life of the unit. The items on the list below are a brief guide to
the minor problems that you may be able to correct yourself. Please be sure to thoroughly check all other connected
components such as speakers and preamplifiers, as well as cables. If the problem persists, please consult your installer,
dealer, distributor or us for assistance.
Problem
No power or front panel lights
No power or front panel lights
No power or front panel lights
Amplifier will not turn on or off when a
trigger cable is connected.
Amplifier turns on, but there is no audio
from one or more channels.
Amplifier turns on, but there is no audio
from one or more channels.
Amplifier turns on, but there is no audio
from one or more channels.
Audio levels differ.
No audio output
Appendix B - Model Circuit Breaker Ratings
All models use medium time delay hydraulic-magnetic circuit breakers. Please contact ATI customer service if you need
more information.
Model
Current Rating (120VAC)
Current Rating (240VAC)
AT1820 Manual
Possible Cause(s)
The power cable is not inserted
100% into the AC input connector.
Circuit breaker is open (AC wall
outlet)
Chassis breaker is open (Amplifier
power switch)
Improper wiring of remote trigger
Input cables are not connected to
proper jack or are loose.
Input select switches are in the
wrong position.
Speakers are not connected
properly.
Improper settings or output levels
from processor or controller.
Overheating, DC at output, Cata-
strophic failure
AT1827
AT1826
20A
15A
10A
8A
Solution
Ensure that the AC cord is fully inserted into the
amplifier and that the wall outlet is active.
Check the AC outlet circuit breaker and reset, if
necessary, or contact your dealer.
Check the rear panel circuit breaker and make sure
it is in the on position. If the circuit breaker does not
stay in the on position, contact ATI for support.
Check voltage , polarity and connection of trigger
wire.
Check all input connections.
Check all input select switches and make sure they
are in the correct position for the connection type,
XLR or RCA
Check speaker connections at the amplifier and
speaker.
Check the settings on you preamp, processor or con-
troller.
The amplifier will turn off. For any but a cata-
strophic failure, the amplifier can be reset by remov-
ing the fault and completing the turn-on sequence
again.
AT1825
AT1824
15A
12A
8A
6A
10
AT1823
AT1822
10A
8A
6A
6A
Rev-05/21
