Andersen SmoothControl+ Installatiehandleiding - Pagina 3
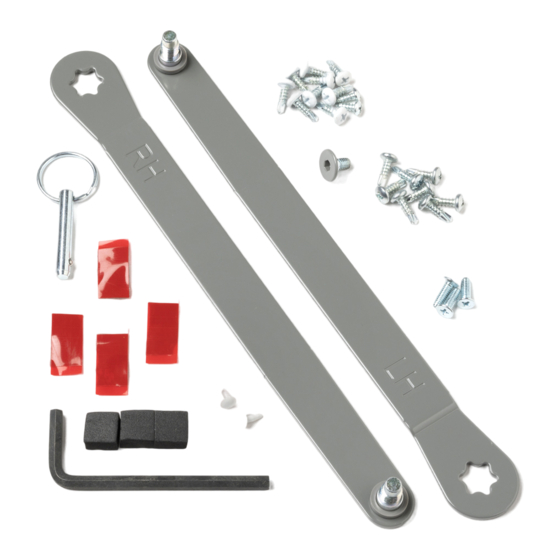
Blader online of download pdf Installatiehandleiding voor {categorie_naam} Andersen SmoothControl+. Andersen SmoothControl+ 3 pagina's. Replacement hydraulic closer torque arm

REMOVE HYDRAULIC
1
CLOSER TORQUE
ARM AND INSTALL
REPLACEMENT PART
(continued)
e
1.
Slide a flat blade screwdriver between the hydraulic closer arm and the
top of the door frame. Position the screwdriver near the pivot point
connection of the closer arm.
2.
Lift up on the hydraulic closer arm with the screwdriver and move
the free end of the arm up and down slightly until it is completely
removed from the shaft connection. Properly dispose of old closer arm
g
1.
Pull the closer arm away from door frame
until it clears the hydraulic closer hole,
then reinstall the locking pin into the top
of the hydraulic closer unit.
h
LOCKING
PIN
1.
Close the door and pull down slightly on
the closer arm to align the bolt under the
rain cap damper assembly. Reconnect the
hydraulic closer arm to the rain cap damper
assembly using the provided hex wrench.
f
IMPORTANT
Verify you are installing the correct replacement
arm by comparing the LH or RH embossment
located on top of the old and new torque arms.
1.
Install the new hydraulic closer arm onto the shaft. When installed
correctly, the arm should extend approximately 1/2" past the front
face of the door frame.
2.
Install and tighten the new arm connecting bolt using the provided
hex wrench.
NOTE: If your replacement kit included a plastic washer, properly
discard the washer. It is not needed in this installation.
3
Tools recommended:
Hex Wrench
Straight head
(provided)
Screwdriver
!
5/8"
5/8"
i
1.
Open door fully and remove the locking
pin from the top of the hydraulic closer
unit.
1/2 IN.
1 1/2"
1 1/2"
LOCKING
PIN
