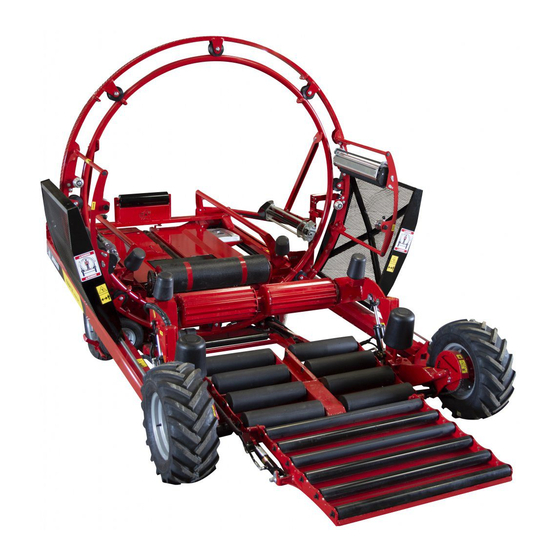
Anderson Fusion720 Snelstarthandleiding - Pagina 3
Blader online of download pdf Snelstarthandleiding voor {categorie_naam} Anderson Fusion720. Anderson Fusion720 14 pagina's.

Back
1.
Find out the best wrapping area and put the machine there.
2.
Remove the tongue and put it at its storage place (close to the steering wheel under the
left fender)
3.
If necessary, unlock the steering axle by removing the locking pin
4.
Unlock the front gate (mechanic) and the ball valve to release the cylinder
lock)
5.
Adjust your bale guides and cone rollers on the exit ramp of the wrapper
the diameter of bale you will be wrapping
6.
Make sure that the gas tank is full, if the wrapper is equipped with the high capacity gas
tank, open the valve under the tank and select the tank with the selector valve (close to
the Honda engine)
7.
Connect the battery wires; and turn the Honda key switch to ON
8.
Pull the emergency stop button to turn on the computer
9.
Select the mode on the first screen of the computer for inline and start the engine with
the computer
10. Use the lever on the dash panel to put the engine at full throttle
button #2 . The computer will advise you if the engine is not at 3600rpm. It must be at
this RPM to function correctly
11. Press the green checkmark (Button 9) (this will start the automatic setup sequence)
Follow the instructions you find on the screen (If the computer requests that you take out
the bale spears do so by using the lever close to the Honda engine)
12. Open the cut and hold system by pressing the button #14 on the control panel.
plastic
to the cut and hold as shown. Then press the same button on the control panel
and the machine will load the cut and hold system (hoop will move so be careful).
13. With the lifting lever (on the main valve), level the machine to avoid the first bales from
falling down the roller bed (
14. Place the hoop wrap / move wrapper valve in the move wrapper position *Smart start*
(explanation smarts
15. Adjust the hoop speed (depending of the number of layers needed ) with the valve
handle on the control panel
16. After 2 bales are wrapped you can use the lift lever to lower wrapper and the front gate to
the ground
(control panel
17. When you have 4 to 5 bales on the ground you can place the hoop wrap / move wrapper
valve in the wrap position and adjust the compaction of the bales
line # 9 (traction wheels will be restricted) It should be between 500 and 1000 PSI
depending of the conditions (ground, incline of the yard, bale weight, etc)
18. You can remove the controller from the dash panel and bring it inside the tractor with you.
You will need to supply 12V to the monitor by connecting the supplied power cord *(cobo
adapter) (image XXXXX)
19. Xtract you bales with the xtractor systemTM when you have finished the tube of wrapped
bales
(control panel
(computer
image) button # 3
start)
(control panel
(control panel
image) line # 5
image) line # .
(control panel image)
image) line # 8
image) line # 7
(steering
pin)
(front gate
(bale
size) to
line # 12
(control panel
image)
(bale
spear)
Attach
(control panel
image)
