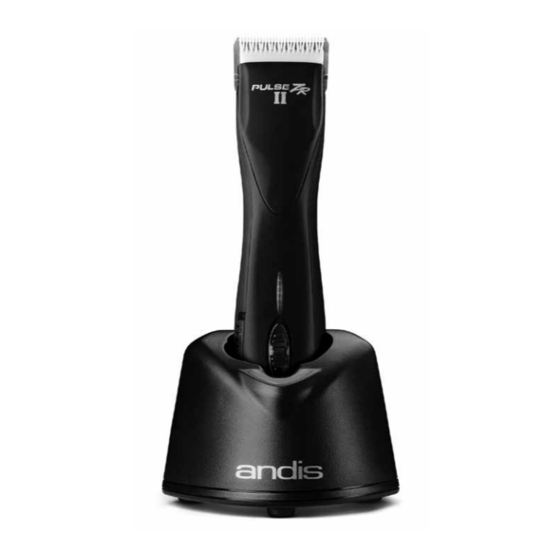
Andis DBLC-2 Gebruiks- en onderhoudsinstructies Handleiding - Pagina 3
Blader online of download pdf Gebruiks- en onderhoudsinstructies Handleiding voor {categorie_naam} Andis DBLC-2. Andis DBLC-2 18 pagina's.

SAVE THESE INSTRUCTIONS
THIS PRODUCT INTENDED FOR HOUSEHOLD USE
OPERATING INSTRUCTIONS
• The battery must be removed from the appliance before it is recycled.
• The battery is to be recycled as a lithium-ion battery.
UNIVERSAL AC/DC POWER ADAPTER
1. Remove the wall adapter and charger from the carton.
2. Note the charger comes standard with a universal AC voltage wall adapter and
interchangeable plugs Figures A-D).
3. To attach the desired plug to the wall adapter, align the slots on the plug to
the ribs on the wall adapter and slide into place. The plug will "click" into
place when properly attached. To remove, locate the button marked "push"
on the wall adapter. Press the button and slide the plug from the wall adapter.
The plugs for the various countries all attach and remove using the same
method (Figure E).
4. Connect the power cord to the back of the charger and then insert the
transformer into an AC outlet.
CHARGING UNIT
To charge, plug wall adapter into 100-240V, 50/60 cycle AC electrical outlet or as
noted on the unit. Make sure the proper input plug is attached to the wall adapter.
Plug power cord directly into back of charging stand. The battery pack may be
charged while on the clipper or separately. To charge the battery pack while in the
unit, place clipper into the pocket on the charging stand. NOTE: the clipper
should be charged with the switch in the OFF position. To charge the battery
pack separately, remove the battery pack by pressing the tab on the back of the
battery (Figure F), sliding the battery out and placing in the pocket on the
charger (Figure H).
Before using your clipper for the first time, make sure the battery has been fully
charged. Note that it is normal for the clipper and wall adapter to feel warm to
the touch when charging. This is especially true if the battery has been deeply
discharged as indicated by the clipper indicator light turning red (Figure G) while
the clipper is running. The clipper should be charged with the switch in the OFF
position.
4
A
B
C
US PLUG
EUROPE PLUG
GENERALLY USED IN
GENERALLY USED IN
GENERALLY USED IN
UNITED STATES
CONTINENTAL EUROPE
F
G
CLIPPER
TAB
INDICATOR
LIGHT
POWER
SWITCH
SLIDING SPEED
ADJUSTMENT
BUTTON
J
K
CHARGE
LEVEL
BUTTON
CHARGE LEVEL
INDICATOR
LIGHT
N
O
OIL
R
S
D
E
PUSH
UK PLUG
AU PLUG
GENERALLY USED IN
GREAT BRITAIN
AUSTRALIA
H
I
POCKET
STAND
CHARGING
INDICATOR
LIGHT
CLIPPER INDICATOR LIGHT
(SPEED AND CHARGE LEVEL)
L
M
P
Q
REMOVE
REPLACE
T
U
INCORRECT
CORRECT
5
