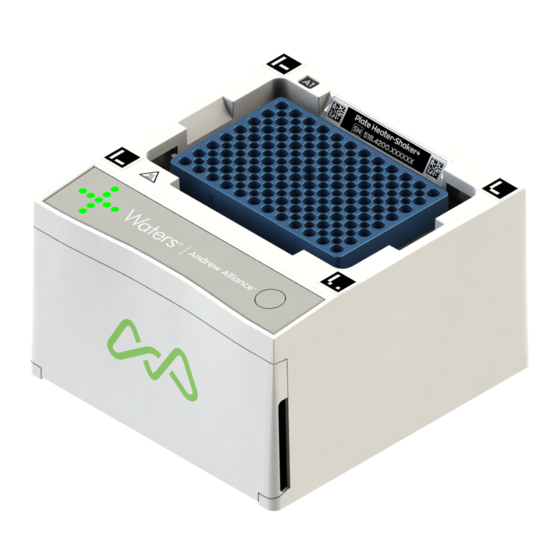
Andrew Alliance Waters Shaker+ Gebruikershandleiding - Pagina 3
Blader online of download pdf Gebruikershandleiding voor {categorie_naam} Andrew Alliance Waters Shaker+. Andrew Alliance Waters Shaker+ 8 pagina's.

About this manual
Read the user manual before using this device. Strictly follow usage and maintenance instruc-
tions provided in the manual. It is the user's responsibility to become familiar with all available in-
formation concerning the correct use, care and limitations of these products. If you are uncertain
about the correct use or limitations of the products, contact Andrew Alliance service and support.
The manufacturer, the distributor and their respective owners, employees, agents and represen-
tatives are not responsible or liable for errors or omissions.
Information in this User Manual is subject to change without notice and does not represent a
commitment on the part of Andrew Alliance. Andrew Alliance assumes no responsibility for any
inaccuracies that may be contained in this User Manual. Andrew Alliance makes no commitment
to update or keep current the information in this User Manual, and reserves the right to make
improvements to this User Manual and/or to the products described in this User Manual, at any
time without notice.
If you find information in this manual that is incorrect, misleading, or incomplete, we would ap-
preciate your comments and suggestions.
Product
overview
Removal and positioning
of Plate Adapter
1. Switch OFF the power supply of the instrument
and make sure the heating elements are cold.
2. Remove labware (if any).
3. Loosen (rotate counterclockwise) the Torx
screw by using the supplied
screwdriver (T8).
4. Remove the Plate Adapter from the Device+
and place it on a soft surface.
5. Insert the new Plate Adapter straight into the
plate holder and make sure it
is well aligned.
6. Insert and tighten the Torx screw (rotate
clockwise).
LED indicator
Power socket
Ethernet for
cable connection
Labware holder/
Plate Adapter
mounting area
Power button
Open hatch
from here
Built-in
computer
Built-in wireless
adapter
