Electrolux CANISTER Gebruikershandleiding - Pagina 3
Blader online of download pdf Gebruikershandleiding voor {categorie_naam} Electrolux CANISTER. Electrolux CANISTER 16 pagina's. Canister vacuum cleaner, quiet cleaning performance
Ook voor Electrolux CANISTER: Gebruikershandleiding (16 pagina's), Gebruikershandleiding (21 pagina's)

Congratulations! You've chosen Electrolux, the world's most popular vacuum cleaner brand. Like
all of our appliances, this design was created to help you take care of your home environment.
You've opted for the best combination of style, efficiency, and healthy innovation. Welcome to a
better world.
Two tasks. One machine.
3™
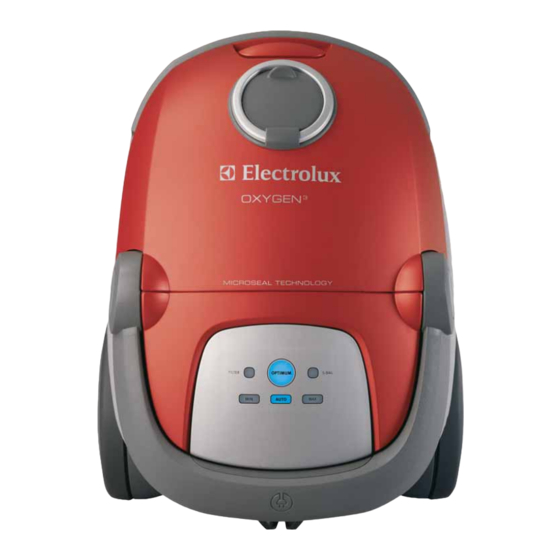
The Oxygen
performs two tasks simultaneously. First, its motor is specifically designed
to create maximum air flow and strong suction for cleaning. In addition, air ducts inside the
3
Oxygen
are aerodynamically engineered. Parts fit snugly, aiding in smoother air flow.
The result is state-of-the-art vacuuming power. And there's a pleasant side effect
to this kind of design: Tighter construction also minimizes noise.
At the same time, the Oxygen
3
is equipped with Microseal™ filtration–our most advanced.
The sealed H12 HEPA filter system captures more than 99% of pollutant particles, including
dust mites, pollen, mold, pet allergens, tobacco smoke and other airborne irritants.
3
Thank you for choosing an Electrolux Oxygen
vacuum cleaner. In order to be able to make
the best possible use of your Oxygen
3
, we recommend that you begin by reading through
the instructions, and that you keep the instruction manual for future reference.
Accessories . . . . . . . . . . . . . . . . . . . . . . . . . . . . . . . . . . . . . . . . . . . . . . . . . 8-9
Storage . . . . . . . . . . . . . . . . . . . . . . . . . . . . . . . . . . . . . . . . . . . . . . . . . . . . . 8-9
Before starting . . . . . . . . . . . . . . . . . . . . . . . . . . . . . . . . . . . . . . . . . . . . . . . 8-9
Using the telescopic wand . . . . . . . . . . . . . . . . . . . . . . . . . . . . . . . . . . . . 10-11
Using the powerhead . . . . . . . . . . . . . . . . . . . . . . . . . . . . . . . . . . . . . . . . 10-11
Replacing the dustbag . . . . . . . . . . . . . . . . . . . . . . . . . . . . . . . . . . . . . . . 10-11
Replacing the motor filter . . . . . . . . . . . . . . . . . . . . . . . . . . . . . . . . . . . . . 10-11
Cleaning the hose and powerhead . . . . . . . . . . . . . . . . . . . . . . . . . . . . . 12-13
Replacing bulb and belt . . . . . . . . . . . . . . . . . . . . . . . . . . . . . . . . . . . . . .12-13
Troubleshooting and consumer information . . . . . . . . . . . . . . . . . . . . . . . . . 14
Limited Warranty . . . . . . . . . . . . . . . . . . . . . . . . . . . . . . . . . . . . . . . . . . . . . . 14
3
