Bose FreeSpace DS 16F Servicehandleiding - Pagina 8
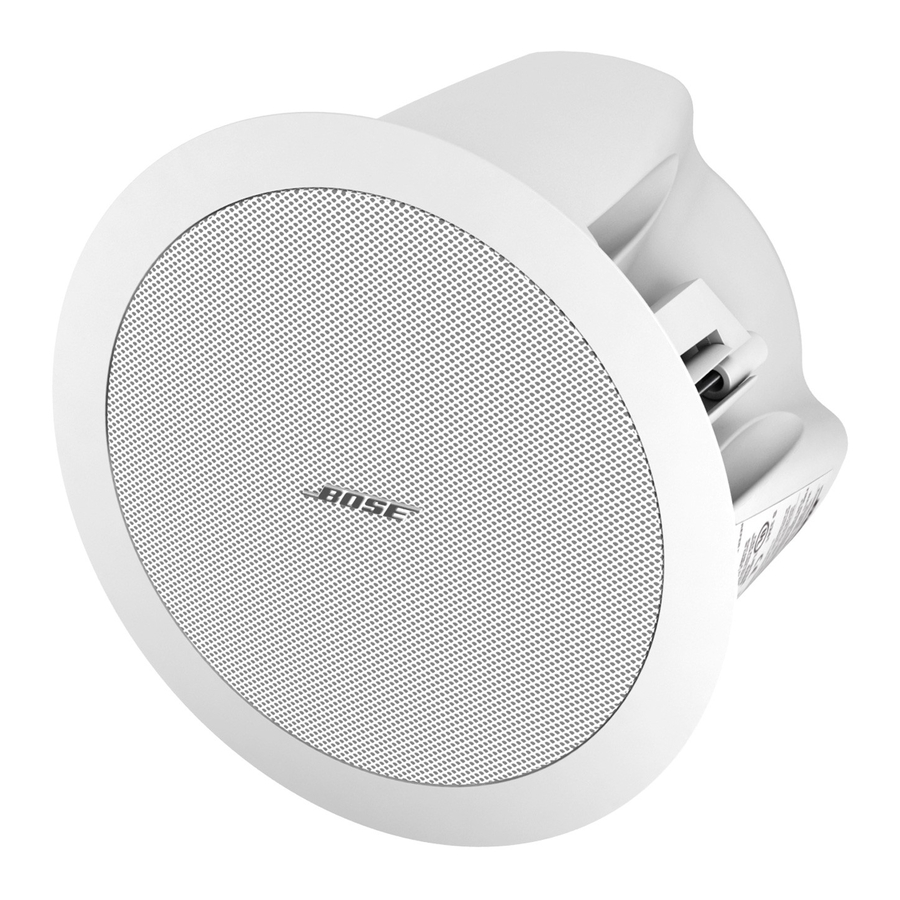
Blader online of download pdf Servicehandleiding voor {categorie_naam} Bose FreeSpace DS 16F. Bose FreeSpace DS 16F 9 pagina's. Square grille for loudspeakers
Ook voor Bose FreeSpace DS 16F: Installatiehandleiding (9 pagina's), Gegevensblad (8 pagina's), Handmatig (2 pagina's), Installatiehandleiding (11 pagina's)
Audio Signal
Generator
Power Amplifier
INPUT
FreeSpace DS 16F Test Setup Diagram
1. Phase Test
1.1 Turn the rotary switch to the 8 Ohm
position and apply a +6V DC level to the input
terminals with the positive lead connected to
the 8 Ohm terminal and the negative lead
connected to the COM terminal.
1.2 The driver should move outward when
the DC voltage level is applied.
2. Air Leak, Rub and Tick Test
2.1 Set up the system as shown in the figure
above.
2.2 For the air leak, rub and tick, and power
sweep tests, all listening will be done at a
distance not to exceed 1 foot if the ambient
noise level is greater than 65dB. An air leak is
considered to exist when audible while facing
the baffle of the speaker assembly.
2.3 Apply a 6Vrms, 20Hz signal to the 8 Ohm
input terminals with the rotary switch at the 8
Ohm setting.
Reject any speaker with air leaks, except for
air leaks resulting from a defective driver or
gaskets. Replace any driver that has a
rubbing or ticking noise.
Small (quiet) ticks are acceptable if they
cannot be heard at a distance of 1 foot.
Test Procedures
OUTPUT
Note: There is a normal suspension noise.
To distinguish between a rub or tick and
suspension noise, displace the cone slightly
with your finger. If the rubbing can be made
to go away, or gets worse, then it is a rub or
a tick. If the noise stays the same, it is
suspension noise.
3. System Sweep Test
3.1 Set the rotary switch to the 8 Ohm
position.
3.2 Apply a 6Vrms, 80Hz signal to the input
terminals. Sweep the oscillator frequency
slowly from 80Hz to 16kHz. Listen carefully
for buzzes, rattles or other extraneous
noises from the driver or from the internal
parts. A whooshing noise from the port
around 80Hz is acceptable.
4. Transformer Tap Select Check
4.1 Apply a 70Vrms, 100Hz signal to the input
of the loudspeaker under test. Slowly change
the tap selection on the unit from the high
position (16W) to the 1W position. A de-
crease in level should be heard for each
descending tap.
8