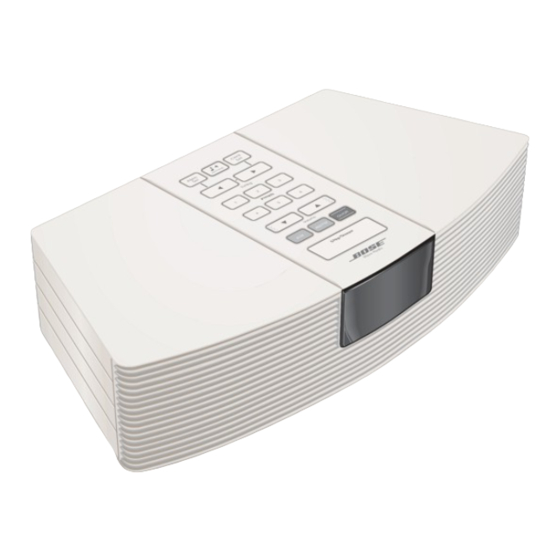
Bose Wave Radio Gebruikershandleiding - Pagina 5
Blader online of download pdf Gebruikershandleiding voor {categorie_naam} Bose Wave Radio. Bose Wave Radio 16 pagina's. Owner's guide
Ook voor Bose Wave Radio: Gebruikershandleiding (20 pagina's), Gebruikershandleiding (12 pagina's), Handleiding voor snelle installatie (1 pagina's), Gebruikershandleiding (27 pagina's), Gebruikershandleiding (26 pagina's)

Unpack the carton
Carefully unpack the carton. Do not attempt to use the Wave
aged. Instead, repack the carton and notify Bose
®
Place the Wave
radio on a table or other flat surface. Locate the FM and AM antennas, the
power cord, and the AA batteries.
Wave
®
radio
Power cord
FM antenna
Install the batteries
®
The Wave
radio's three AA batteries maintain its memory and backup alarm system for up to
a week during a power failure, or while the radio is unplugged. The batteries will not power the
radio or light the display. Operating without batteries leaves the memory unprotected, but will
not harm the radio. Use only 1.5V AA alkaline batteries (IEC-R6 in Europe), available at many
retail stores.
1. Carefully turn your Wave
upside down (avoid scratching
its top).
2. Locate the battery compart-
ment on the bottom (see
Figure 2).
3. Press the arrow on the cover to
slide the compartment open.
4. Place the batteries inside,
matching the + and – symbols
with the symbols inside the
compartment.
5. Slide the cover back into place
and turn the radio right side up.
AM149204_02_V.pdf
(see Figure 1)
®
or your authorized Bose dealer immediately.
Lithium
battery
Peel-and-
stick tape
AM antenna clip
®
radio
172087
50W
50-60HZ
120V~AC
January 7, 2002
®
radio if any part appears dam-
AA batteries
Remote control
AM loop antenna
+
–
+
OUT
VARIABLE
IN
AUX
L
R
Setting Up
Figure 1
®
What comes with your Wave
radio.
®
• One (1) Wave
radio
• One (1) power cord
• Three (3) AA batteries
• One (1) FM antenna
• One (1) AM antenna
• One (1) AM antenna clip
• One (1) peel-and-stick tape
• One (1) remote control
• One (1) lithium battery
Figure 2
Match the + and – symbols on the
batteries to the marks inside the
compartment.
5
