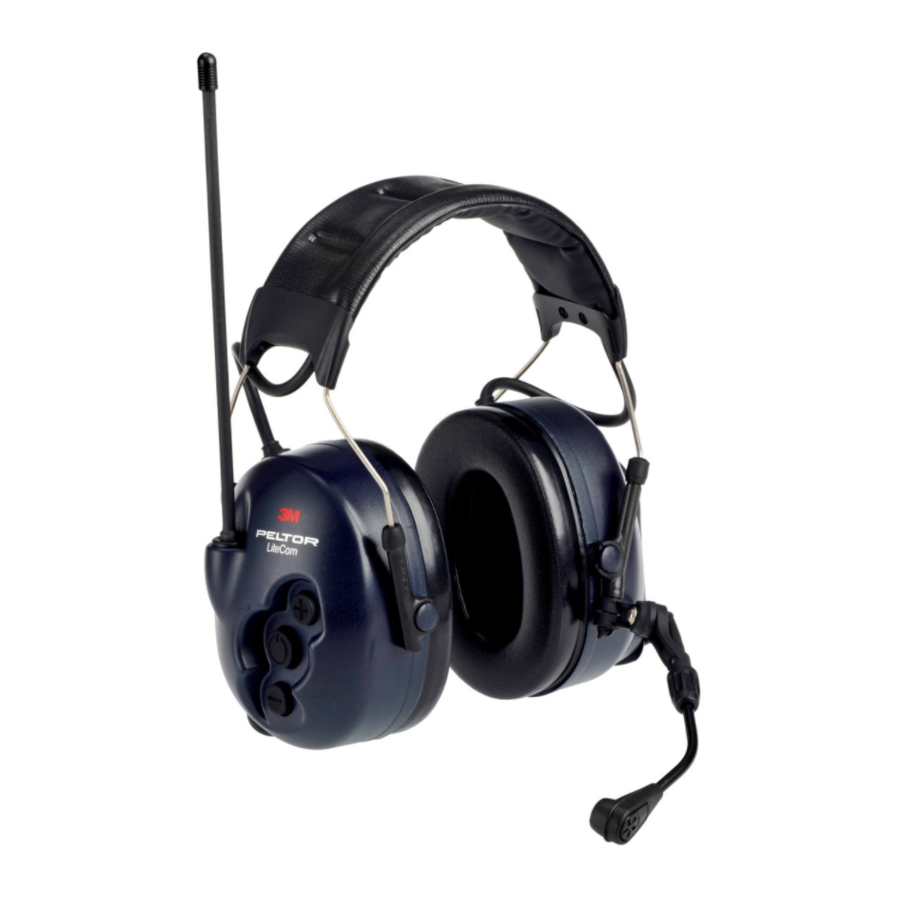
3M Peltor LiteCom MT53H7P3E4600-NA Gebruikershandleiding - Pagina 7
Blader online of download pdf Gebruikershandleiding voor {categorie_naam} 3M Peltor LiteCom MT53H7P3E4600-NA. 3M Peltor LiteCom MT53H7P3E4600-NA 15 pagina's. The sound solution
Ook voor 3M Peltor LiteCom MT53H7P3E4600-NA: Handmatig (18 pagina's)

3. USAGE/FUNCTIONS
3.1 Inserting batteries
•
Improperly installed batteries can damage the headset.
•
Remove the batteries when storing the headset for extended periods of time.
•
Replace batteries when interference increases or the sound level becomes weak.
•
Do not replace batteries with the unit switched on.
•
Low battery level is indicated by a voice message, "low battery", repeated every 5 minutes. If not replaced, a "battery
empty" message will sound and the unit will switch off automatically.
•
Check the functioning of the unit after installing or replacing batteries.
•
Open the battery cover (A:15) by turning the locking screw counterclockwise.
•
Install 2 1.5 V AA batteries. Position the + and - poles as shown on the battery cover.
•
Replace cover and secure by turning the locking screw clockwise.
Warning! Dry cell batteries can explode if recharged. Do not attempt to charge the included alkaline batteries as this
may damage the headset.
3.2 Switching the headset on and off
Press and hold the On/Off/Mode button (A:9) for two seconds to switch the headset on or off. A voice message will confirm that
the unit has been switched on or off. The last setting is always saved when the headset is switched off.
Note! Power is switched off automatically if the product has been inactive for two hours. Automatic power-off is indicated by a
voice message: "automatic power off" followed by a series of short tones for 10 seconds, then the unit is switched off.
3.3 Scrolling through the menu
Press the On/Off/Mode button (A:9) briefly to browse through the menu. A voice message confirms each step.
3.4 Radio volume (sound level for communication radio)
Press the + button (A:10) or – button (A:11) to adjust the volume to one of five levels. Each change is confirmed by a voice
message. To turn the volume off, press the – button (A:11) for two seconds. This is confirmed by the message "radio volume
off". Press the + button (A:10) to switch this function back on.
Note! No radio communication can be heard when the volume is switched off.
Note! When the volume is switched off the other menus will not be available.
3.5 Channel (radio frequency)
Press the + button (A:10) or – button (A:11) to select between eight available channels. Each change is confirmed by a voice
message. See table H Radio channel frequencies.
3.6 VOX (voice-operated transmission)
VOX enables LiteCom to transmit automatically when sound above a certain level reaches the microphone. This allows radio
transmission without pressing the PTT button (A:14).
Press the + button (A:10) or – button (A:11) to adjust the sensitivity of voice operated transmission. Each change is confirmed
by a voice message. You can choose between five levels or switch this function off. When the level is low it is easier to transmit.
To switch this function off, press the – button (A:11) for two seconds. This is confirmed by the message "VOX off". The PTT
button (A:14) must now be used to transmit. Press the + button (A:10) to switch this function back on. Alternatively switch voice-
operated transmission on or off by briefly press the PTT button twice. A voice message confirms the current VOX setting.
The radio has a Busy Channel Lock Out (BCLO) function that prevents VOX operation if the channel is being used for other
transmission. An audible tone indicates that the channel is already being used. Note! To activate the VOX function the speech
microphone (A:8) must be very close to your mouth, 1–3 mm (figure G). The user's voice will be heard in the headset when the
radio is transmitting.
3.7 Squelch (hiss reduction)
"Squelch" means that background hiss in the earphones is prevented when the incoming signal is below the set squelch level.
Press the + button (A:10) or – button (A:11) to adjust the squelch level. Each change is confirmed by a voice message. You can
choose between five levels or switch this function off. A low squelch level may permit longer range. To switch this function off,
press the – button (A:11) for two seconds. This is confirmed by the message "squelch off". Press the + button
(A:10) to switch this function back on.
3.8 Sub channel (selective squelch )
Sub channel allows multiple groups of users to use the same channel without hearing other groups. When sub channel is active,
an inaudible code will be transmitted with speech, and this code is used to "open" the receiver of other users of the group. This
EN
7
