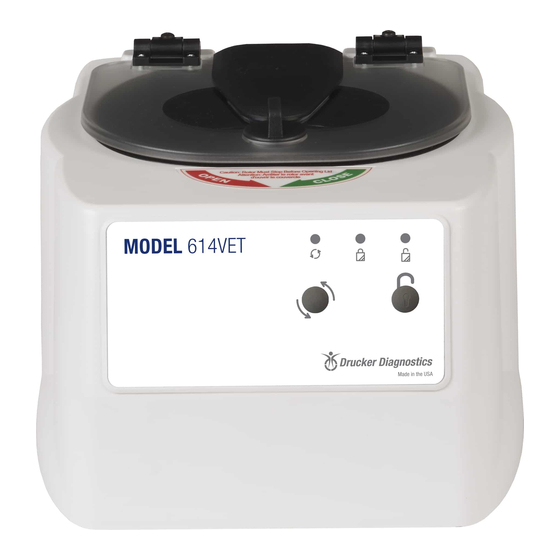
Drucker Diagnostics 614VET Gebruikershandleiding - Pagina 9
Blader online of download pdf Gebruikershandleiding voor {categorie_naam} Drucker Diagnostics 614VET. Drucker Diagnostics 614VET 16 pagina's.

O
PERATION
NOTE: Follow the initial setup procedure on page 6 before initial operation.
1. Plug the centrifuge into an approved 115 Volt A.C., 60 Hz. outlet.
2. Push the 'OPEN/STOP' button and then open the lid.
3. Place the test tube samples into the tube holders. Be sure to
follow the rules for balanced loads.
4. Close the lid and turn the lid knob clockwise to its complete stop
position. The 'LATCHED' indicator light should turn on to indicate
that the latch is closed properly. If the lid knob is not completely
latched, the 'LATCHED' indicator light will not turn on and the
centrifuge will not operate!
5. The timer has been set to a preset time of two (2) minutes. To
display or change this time setting, refer to page 8.
6. Turn on the machine by pushing the 'START' button on the
control panel.
7. The centrifuge should begin to spin. The 'RUNNING' indicator
light should illuminate.
IF A PROBLEM IS FOUND DURING A SPIN THAT REQUIRES THE
CENTRIFUGE TO SHUT DOWN, PRESS THE 'OPEN / STOP' BUTTON!
8. The 'RUNNING' indicator light will begin to flash when one
minute remains.
9. After time has elapsed, the 'RUNNING' indicator light will
extinguish and the rotor will slow to a complete stop.
10. The 'UNLOCKED' indicator light will illuminate, and the locking
mechanism will disengage allowing entry into the rotor chamber.
If it does not, refer to page 13 on troubleshooting.
11. Turn the lid knob counterclockwise and open the lid.
12. Remove the samples.
13. If the machine re–locks before the samples are removed, press
the 'OPEN/STOP' button to unlock the lid for an additional fifteen
(15) seconds.
Page | 9 Drucker Diagnostics +1-814-692-7761 - [email protected]
