Drucker Diagnostics 642B Gebruikershandleiding - Pagina 8
Blader online of download pdf Gebruikershandleiding voor {categorie_naam} Drucker Diagnostics 642B. Drucker Diagnostics 642B 16 pagina's.

O
PERATION
NOTE: Follow the initial setup procedure on page 6 before initial operation.
1. Plug the centrifuge into an approved 115 Volt A.C., 60 Hz. outlet.
2. Turn the latch counterclockwise and open the lid.
NOTE: If the desired rotor is not installed, go to page 8 for the rotor removal and
installation procedure.
3. Place the test tube samples into the tube holders. Be sure to
follow the rules for balanced loads (page 7).
4. Close the lid and turn the lid knob clockwise to its complete stop
position.
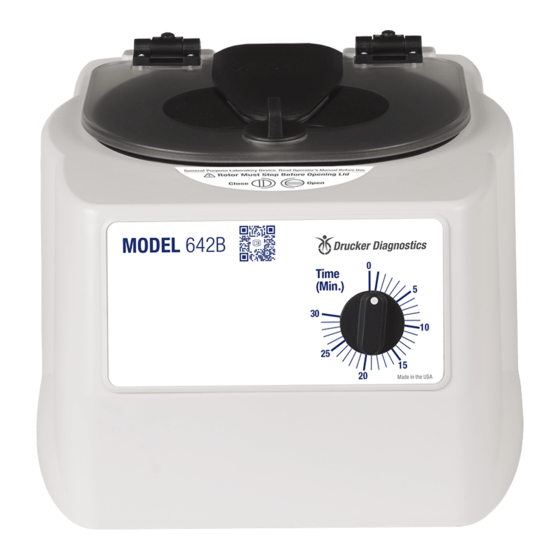
5. Turn on the machine by turning the timer to the desired run
time. The centrifuge should begin to spin.
IF A PROBLEM IS FOUND DURING A SPIN THAT REQUIRES THE CENTRIFUGE TO
SHUT DOWN, PRESS THE 'OPEN / STOP' BUTTON!
6. Once the timer reaches zero (0), power will be cut to the motor
and the rotor will coast to a stop. Do not open the lid until the
rotor has come to a complete stop.
7. Turn the lid knob counterclockwise and open the lid.
8. Remove the samples.
9. The centrifuge is immediately ready for operation.
Drucker Diagnostics +1-814-692-7761 - [email protected] Page | 6
