Daikin AGZ Installatie- en onderhoudshandleiding - Pagina 6
Blader online of download pdf Installatie- en onderhoudshandleiding voor {categorie_naam} Daikin AGZ. Daikin AGZ 12 pagina's. Microtech ii chiller modbus communication module
Ook voor Daikin AGZ: Installatie- en onderhoudshandleiding (14 pagina's)

Installation and Mounting
The following section describes how to field install a new
Modbus communication module or replace an existing module
on the MicroTech II chiller unit controller.
Electrostatic discharge hazard. Can cause equipment
damage.
This equipment contains sensitive electronic components that may be
damaged by electrostatic discharge from your hands. Before you handle
a communication module, you need to touch a grounded object, such as
the metal enclosure, in order to discharge the electrostatic potential from
your body.
Electric shock hazard . Can cause personal injury or
equipment damage.
This equipment must be properly grounded. Only personnel knowledgeable
in the operation of the equipment being controlled must perform connections
and service to the unit controller.
Field Installation Kit
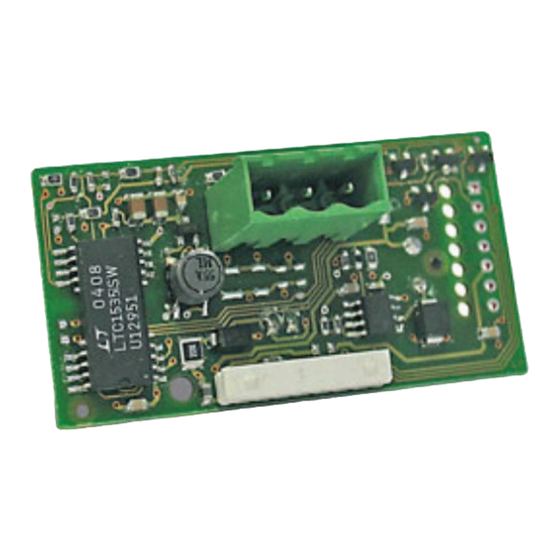
The Modbus communication module field-installed kit ships
with the following items:
• The Modbus communication module with RS-485 network
connector (attached to module)
• This manual (IM 743)
Tools Required
• A small flathead screwdriver or similar tool as shown in
Figure 4
• Needle-nose pliers or similar tool as shown in
Installing a new Communication Module
Follow these steps to install a new communication module on
the unit controller.
1. Remove power from the unit controller.
2. Locate the serial card slot on the unit controller
(Figure
3).
3. Remove the cover if it has not already been removed.
Use a small screwdriver to carefully pry the cover off
from one end
(Figure
Figure 3: Serial Card Slot in Unit Controller
IM 743-7 • MICROTECH II CHILLER UNIT CONTROLLER
CAUTION
WARNING
Figure 5
4).
Figure 4: Remove Serial Card Slot Cover
4. Using a needle-nose pliers or similar tool, remove the
pre-cut plastic part of the serial card cover, making the
hole for the network connector
Figure 5: Remove Plastic Cover
Figure 6: Serial Card Cover Removed
5. Grasp the communication module, with the network
connector on the underside. The 8-pin header must
mate to the 8-pin plug in the unit controller. The plug has
a guide on each end to direct it into the mating guide
on the communication module header.
the serial card slot with the 8-pin plug that mates to the
header on the communication module.
6
Installation
Installation
(Figure 5
and
Figure
6).
Figure 7
shows
www.DaikinApplied.com
