Airthings View Series Snelstarthandleiding - Pagina 6
Blader online of download pdf Snelstarthandleiding voor {categorie_naam} Airthings View Series. Airthings View Series 16 pagina's. Indoor air quality and radon monitor
Ook voor Airthings View Series: Snelstarthandleiding (16 pagina's), Gebruikershandleiding (11 pagina's), Gebruikershandleiding (5 pagina's)

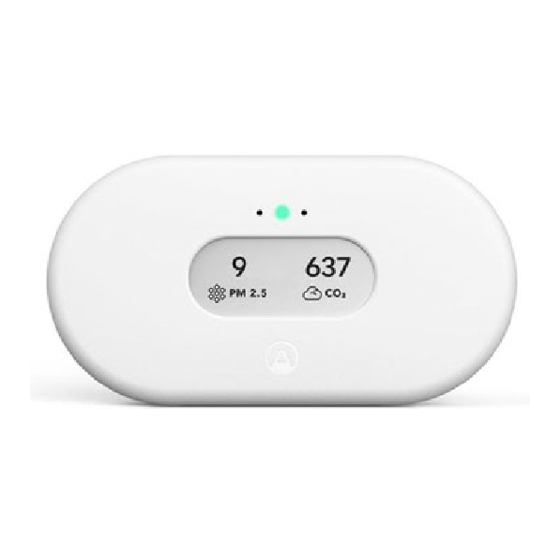
Step 3 - Placement
Your View device can be placed wherever you want to
measure your air quality, such as your night stand, on the
wall in the baby room, or on a shelf in the living room. It
should be kept away from very dusty environments, and
performs best if cleaned with a dry or damp cloth once in a
while. View Plus and View Radon should be kept out of
damp environments above 85% humidity to avoid damage to
the radon sensor.
To mount your View on a wall: Fix the mounting bracket to
the wall. Make sure you use appropriate screws for your wall
type. Do not place it close to vents or windows. Minimum 1
meter / 3 feet distance.
Step 4 - Calibration
Some sensors will need time, usually around a week, to
calibrate after power-up. See more details in the product
sheet for your device.
The various sensors have different sample rates (how often it
records a data point) and accuracy. The radon sensor in
particular is built for long-term monitoring. Although you
can read the early data samples, they are likely to be
inaccurate. Radon will often vary significantly from day to
day, and even month to month. Buildings can be diagnosed
for radon by measuring all living areas - e.g., living rooms
and bedrooms - for at least one week. For a more accurate
value, this should be followed by a long-term measurement
(for at least 2 months) in the room with the highest radon
value.
