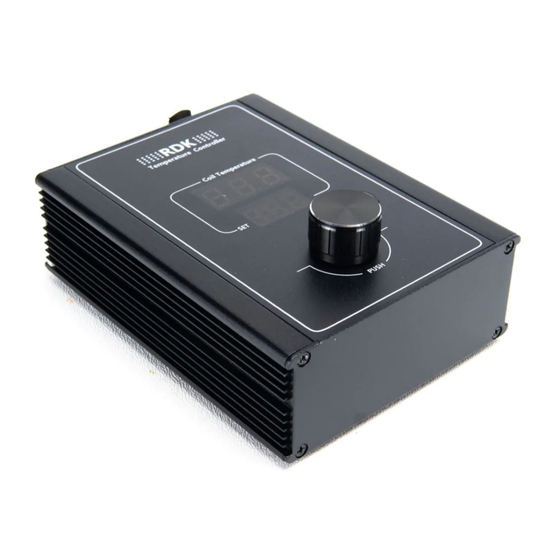
Auber Instruments RDK-300B Gebruiksaanwijzing
Blader online of download pdf Gebruiksaanwijzing voor {categorie_naam} Auber Instruments RDK-300B. Auber Instruments RDK-300B 2 pagina's. Controller for hot runner coil heater

AUBER INSTRUMENTS
Instruction Manual
Caution
Check pin assignment before connecting a coil to the controller (see section
3.4). The pin assignment on RDK-300 is different from RDK-100.
The default set temperature on RDK-300B is 300°F. The controller will start
to heat the coil immediately after it is power up if coil is connected. Please
make sure the coil is placed in a secure place before power up.
The coil heater should NOT be heated above 1000°F. By default, the auto-
shutoff temperature and time are set to 900°F and 60 minutes.
When controller is turned off, the coil will stay at very high temperature for at
least 20 minutes. DO NOT TOUCH the coil until controller stops flashing
"Hot". The heated coil is very dangerous. It will cause severe burn if touched.
One (1) year warranty for the controller; six (6) months for the coil heater*
Note: * Our warranty for coil heater only covers manufacturing defects; it does NOT cover
damages caused by high temperature (≥ 1000°F) use.
1.
Specification
Controller
Operating voltage
Maximum current
Input power connection
Coil connection
Dimension
Temperature control range
2.
Front Panel
Figure 1. Front Panel.
① Current temperature
② Output status indicator
③ Set temperature
④ Power button with stand-by status indicator
⑤ Control knob. Access menu and change parameters
2020.04
RDK-300B Controller for Hot Runner Coil Heater
120 V / 240 V AC
5 Amp
IEC 320 C14
XLR 5 Pin
3.5 x 1.7 x 4.7 inch, (90 x 47 x 120 mm)
200°F to 1000 °F
①
②
③
④
⑤
Version 1.0 (April, 2020)
3.
Getting Started
3.1
Confirm the Pin Assignment on the Heater Coil
Before you plugging any coil to this controller, please confirm that the coil has
the same pin assignment (see Table 1) as the RDK-300B.
Table 1. Pin Assignment of the XLR connector on RDK-300B.
3.2
Connecting the Coil Heater
To connect the coil heater, align the slot on the XLR connector on the coil
cable with the tab on the female XLR connector on the controller, and then
push it in. To disconnect it, press the "PUSH" tab on the female connector and
pull the connector out.
Warning: With a coil connected, the controller will start to heat
the coil immediately after it is power up. Please make sure that the
coil is placed in a secure place before power up. When controller is
turned off, the coil will stay at a very high temperature for at least 20
min. Controller will flash "hot" and coil temperature at top display,
and it will show "off" at bottom display. DO NOT TOUCH the coil until
the controller stop flashing "hot". The heated coil is very dangerous.
It will cause severe burn if touched. It is strongly recommended
that the power cord should be unplugged after use.
3.3
Power On/Off the Controller
Connecting the power cord to the controller and to the wall outlet, then the
power button should light up in red, which means the controller is in standby
status. The displays should still be dark and there should be no power output to
the coil heater. Press down the power button briefly, the display should turn on
and the power button will lit in white. The bottom of the display window will
show the set temperature value, and the top display window will show the
current coil temperature. Controller will start heating up the coil to the set
temperature. If no coil is plugged in, the top display will show "-H-".
To power off the controller, press down the power button briefly. Controller will
cut off power to the coil, keep displaying the coil temperature till it is cooled
below a safe cool temperature.
3.4
Basic Operations
This controller has two operating mode, standard mode and boost mode
(which is newly added to RKD-300B). By default, the controller will first power
up in standard mode.
WWW.AUBERINS.COM
1
AC Power to Heater
2
AC Power to Heater
3
TC +
4
TC -
5
Ground
P1/2
