Dan D'Agostino MOMENTUM M400 MONOBLOCK Gebruikershandleiding - Pagina 4
Blader online of download pdf Gebruikershandleiding voor {categorie_naam} Dan D'Agostino MOMENTUM M400 MONOBLOCK. Dan D'Agostino MOMENTUM M400 MONOBLOCK 9 pagina's.

2
1
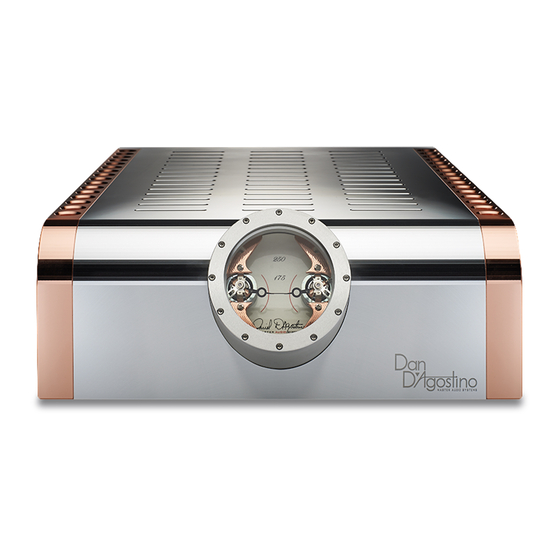
FRONT PANEL
1. Power meter
2. Heat sink venturis
3. Top panel vents
4. Power button
2
3
1
9
REAR PANEL
1. 12-volt on/off trigger input
2. 12-volt trigger output
3. Three-position toggle switch for power meter brightness
4. Three-position toggle switch for power meter sensitivity and on/off
5. Speaker cable binding posts (2 pr for M250 Stereo)
6. XLR audio input (2 for M250 Stereo)
7. Fuse holder drawer
8. IEC AC power connector
9. Serial number
4
3
4
4
5
6
7
Momentum 400 Monoblock shown
MAKING CONNECTIONS TO THE MOMENTUM AMPLIFIER
2
Speaker cables
Install the speaker cables first. We recommend the use of high-quality cables terminated with
spade or ring lugs that will fit the Momentum amplifier's binding posts. We advise against the use
of pin connectors, banana plugs, or bare-wire connections.
Note that the positive (+) binding post has a red ring and the negative (-) binding post has a
black ring. Double check to confirm that you are connecting your speaker cable's conductors
to the appropriate binding posts—red to positive, black to negative. If your cables are marked
to show desired signal flow, orient the cable so that the installation conforms to the cable
manufacturer's instructions.
To install speaker cables tipped with spade lugs or rings, use the supplied binding post wrench to
carefully loosen each speaker binding post. Turn counter-clockwise to loosen. If using spade lugs,
insert each spade lug so that its two tines straddle the binding post, then tighten the binding
post nut with the binding post wrench. If using rings, remove the binding post nut, place the ring
on the binding post, then replace the nut and tighten it securely.
A firm connection, tight enough that the spade lug or ring cannot move, is all that's needed.
Overtightening could damage the binding posts. Do not use a conventional wrench to tighten the
binding posts. Be sure the wires are not in contact with one another.
Interconnect cables
8
We recommend the use of high-quality balanced XLR audio interconnect cables with the
Momentum amplifier. If your preamp does not offer XLR output, use the high-quality RCA-to-XLR
adapters provided with the Momentum amplifier.
Connect the XLR cables to the inputs by pushing the cables onto the jacks. To release the XLR
cable, push on the small tab on the end of the jack then grasp the cable by the plug and gently
pull it out. Never grasp interconnect cables by the cable itself—you could damage the cable.
AC cord
The Momentum amplifier is supplied with a high-quality Transparent Audio AC cord tipped with a
15-amp IEC connector at the amplifier end and a three-conductor AC plug at the other end. You
may use a different power cord with the Momentum amplifier if you wish, as long as it is tipped
with a 15-amp IEC connector and a three-conductor AC plug.
After the speaker and interconnect cables are connected, push the IEC connector on the power
cord into the IEC jack on the Momentum amplifier.
5
