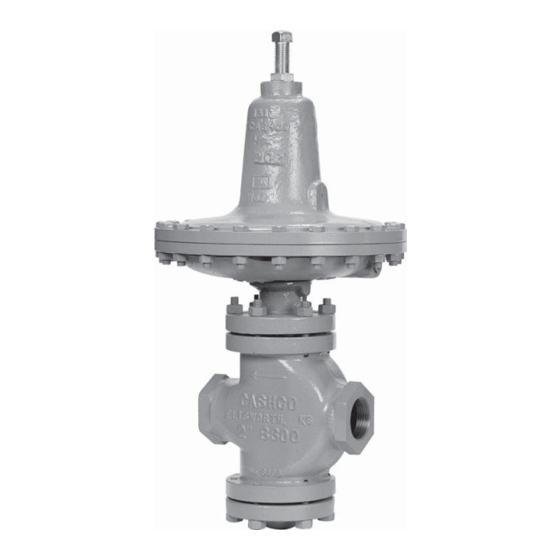
cashco 8311LP Installatie-, bedienings- en onderhoudshandleiding - Pagina 3
Blader online of download pdf Installatie-, bedienings- en onderhoudshandleiding voor {categorie_naam} cashco 8311LP. cashco 8311LP 8 pagina's. Back pressure/relief regulators

VI. MAINTENANCE
SYSTEM UNDER PRESSURE. Prior to per form ing any
main te nance, isolate the reg u la tor from the sys tem and
relieve all pressure. Failure to do so could result in per-
sonal in ju ry.
A. General:
1.
Maintenance procedures hereinafter are based
upon removal of the regulator unit from the pipeline
where installed.
2.
Owner should refer to owner's pro ce dures for
re mov al, handling, cleaning and disposal of non-
reuseable parts, i.e. gaskets, etc.
3.
Refer to Figure 1 for standard regulator (NOTE:
"LP" variation has larger di a phragm area than
"HP" variation). Refer to Figures 2 and 3 for option
blow-ups.
B. Diaphragm Replacement:
1.
Using an overhead hoist, lift reg u la tor onto a fl at
surface work bench.
SPRING UNDER COMPRESSION. Prior to re mov ing fl ange
bolts, relieve spring compression by back ing out the ad-
just ing screw. Failure to do so may result in fl ying parts
that could cause per son al injury.
2.
Relax
range spring (28) by turning adjusting
screw (or T-bar) (32) CCW (viewed from above)
until removed from spring chamber (13). Count
and record the number of revolutions in the box
below:
Number of revolutions required to relax range
spring:_________
3.
Draw or embed a match mark be tween di a phragm
case (14) and spring chamber cast ing (13) along
fl anged area.
4.
Remove all fl ange nuts (30) and bolts (29).
5.
Remove spring chamber (13), spring button (27),
and range spring (28).
6.
Draw second match mark on diaphragm case
(14) fl ange in alignment with a match mark on the
threaded end of the plug and stem assembly (12)
to indicate "free vertical movement" position of the
plug and stem assembly (12).
7.
Securing the "fl ats" on the threaded end of the plug
and stem assembly (12) with ad just able wrench,
IOM-8311HP/LP
WARNING
WARNING
SECTION VI
re move pressure plate nut (24) by rotating CCW
(viewed from above).
NOTE: Do not rotate the plug and stem assembly
(12). The plug (12.1) and seat rings (10 & 11) have
been me chan i cal ly lapped at the factory per ANSI
Class II seat leak age and assembled to pro vide
op ti mum "free ver ti cal movement".
8.
Pry loose pressure plate (22) from diaphragm(s) (20)
and remove both. Inspect to ensure no de for ma tion
due to over-pres sur iza tion. If de formed, replace.
NOTE: 1. Not re mov ing the pusher plate (17) or
rotating the plug and stem assembly (12) will pro vide
per for mance equal to orig i nal fac to ry per for mance
when diaphragm(s) (20) is re placed with a like
diaphragm(s) (20). Refer to Section VI.C, steps
12 and 13 for correct di a phragm setting if pusher
plate (17) or stem lock nut (19) is re moved, or plug
and stem as sem bly (12) is ro tat ed.
2. Refer to quantity of diaphragm(s) (20) in cor po-
rat ed in the bill of ma te ri als listing. De pend ing on
outlet pressure level, multiple metal di a phragms
may be "stacked".
9.
Remove diaphragm gasket (21) and pusher plate
gasket (18). Clean gasket sealing sur fac es thor-
ough ly.
10. Install new diaphragm gasket (21) on di a phragm
case (14) fl ange and new pusher plate gasket (18)
on pusher plate, if required. NOTE: No gaskets
utilized with a com po si tion (soft) di a phragm.
11. Position new diaphragm(s) (20) over threaded end
of plug and stem assembly (12).
12. Ensuring that the curved outer rim side of the pres-
sure plate (22) rests against the diaphragm(s) (20)
directly, place the pres sure plate (22) over threaded
end of the plug and stem as sem bly (12).
13. Reposition pressure plate nut (24) on threaded
end of plug and stem assembly (12) and tighten
to 75-80 ft/lbs. (108-115 N-M) for metal or 30-35
ft/lbs. (40-47 N-M) for composition diaphragm.
Main tain align ment of match marks on the plug
and stem as sem bly (12) with second match mark
on the di a phragm case (14) fl ange. NOTE: Use
two fl ange bolts (29) to keep multiple di a phragms
(20) bolt holes prop er ly aligned while tight en ing the
pres sure plate nut (24). DO NOT USE FIN GERS
TO HOLD DI A PHRAGMS (20) DUR ING TIGHT EN-
ING OF NUT (24).
14. Set range spring (28) on retainer hub of pres sure
plate (22).
15. Place multi-purpose, high temperature grease into
depression of spring button (27) where ad just ing
screw (or T-bar) (32) bears. Set spring button (27)
onto range spring (28); ensure spring button (27)
is laying fl at.
16. Aligning the match marks, place spring cham ber
(13) over the above stacked parts. In stall all bolts
3
