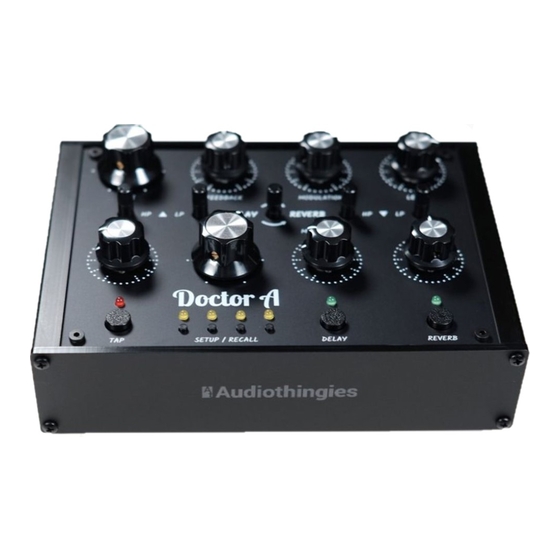
Audiothingies Doctor A Snelstarthandleiding - Pagina 4
Blader online of download pdf Snelstarthandleiding voor {categorie_naam} Audiothingies Doctor A. Audiothingies Doctor A 4 pagina's.
Ook voor Audiothingies Doctor A: Handleiding Addendum (3 pagina's)

LED/Button Function
● ○ ○ ○
Input
○ ● ○ ○
Output (wet signal)
○ ○ ● ○
CV1
○ ○ ○ ●
CV2
TIP: Both CV inputs can be assigned to 1 parameter.
To assign a parameter, press and hold CV1 or CV2 button and simply turn the knob you wish to
assign. Assignable knobs are pots 1 to 4 and pots 10 to 13 (see Front panel layout).
Inner guts access
Return your
jumpers on header pins giving you the opportunity to
alter the analog part of the circuit.
On both L/R channels you have access to:
Input gain
Output gain
Dry signal
To change a setting, make sure your
jumper on the wanted position. To do this, we recommend the use of a flat head screwdriver.
Be careful not to lose the jumpers inside
We recommend that both channels are set to the same settings for best operation.
Specifications
I/Os
Type
Input impedance
Output impedance 100 Ohm
Max input level
Max output level
Dynamic range
General
Dimensions
Weight
and you will have access to some
0 / +12 dB
0 / -12 dB
On / Off (To activate Kill Dry, set both Dry signal jumpers to the OFF pos.)
Single ended
10k Ohm
19 dBu (input gain set to 0 dB)
19 dBu (output gain set to 0 dB)
> 100 dB
17,5 x 12,5 x 6 cm
600 g
LED OFF
Stereo input
Stereo output
CV1 input disabled
CV2 input disabled
is turned off, then remove and replace the
while doing this.
LED Blinking
Dual mono input
Dual mono output
CV1 input enabled
CV2 input enabled
