DAPAudio AVD-800P Producthandleiding - Pagina 12
Blader online of download pdf Producthandleiding voor {categorie_naam} DAPAudio AVD-800P. DAPAudio AVD-800P 16 pagina's. 8 zones multiroom system

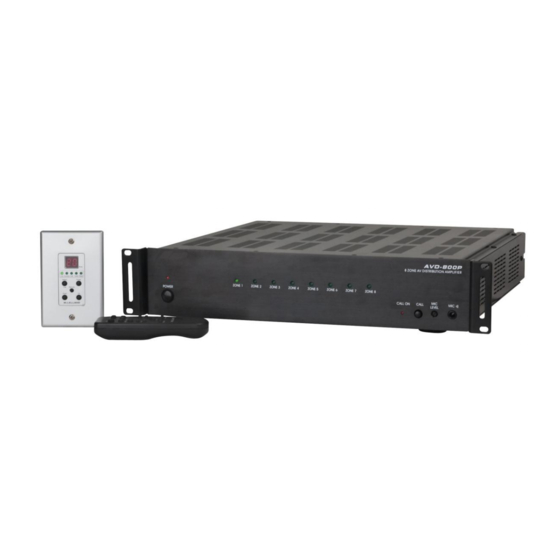
Keypad Panel Features and Functions.
24. Function LED
This LED lights if function mode is selected. In function mode you can select source 1-6 using the Up
(29) and Down (28) buttons.
25. Volume LED
This LED lights if volume mode is selected. In volume mode you can adjust the volume using the Up
(29) and Down (28) buttons.
26. Select/ Call Button
The select switch lets you select Volume, Function, Treble or Bass mode. The corresponding LED
indicates the selected mode. Pressing the select switch 3 seconds selects the Call function. The
keypad call function only works in combination with the optional LED display. If a LED display is
connected, the corresponding LED will light indicating a call from that certain keypad.
27.
IR receiver
Use in combination with the infrared remote control.
28.
Down
Use this button together with the Up (29) button to adjust the Volume, treble and bass level or to
select source C1-C6.
29. Up
Use this button together with the Down (28) button to adjust the Volume, treble and bass level or to
select source C1-C6.
30. Display
If the unit is turned on, the LED display will show the selected source, the volume bass and treble level
depending on the selected mode.
31. Treble LED
This LED lights if treble mode is selected. In treble mode you can adjust the treble level using the Up
(29) and Down (28) buttons.
32. Bass LED
This LED lights if bass mode is selected. In bass mode you can adjust the bass level using the Up (29)
and Down (28) buttons.
33. Power Button
Press to turn on the keypad and activate the corresponding zone.
34. Call LED
This LED lights if Call (panic) mode is activated. Call mode is selected by pressing the Select/ Call (26)
button for more than 3 seconds or use an external switch connected to the Call Switch Terminal (36).
35. Camera Scan Jumper
If the jumper is removed, the camera scan function is disabled and the keypad's Video Output (37)
will block the camera scan signals. If the jumper is in place, the camera scan function is enabled.
36. Call Switch Terminal
Use this terminal to connect an external Panic/ Call switch. The keypad call function only works in
combination with the optional LED display. If a LED display is connected, the corresponding LED will
light indicating a call from that certain keypad.
37. RCA Video Out
Connect this output to a TV or composite Monitor.
10
Fig. 7
