Apogee Skill Level 4 Handmatig - Pagina 16
Blader online of download pdf Handmatig voor {categorie_naam} Apogee Skill Level 4. Apogee Skill Level 4 16 pagina's.

Rocket Preflight:
A. Crumple and insert 3 or 4 sheets of recovery
wadding into the tube, push them to the bottom
with a long dowel.
B. Fold the parachute so that the shroud lines all
come together, then place the shroud lines onto
the parachute in a loop and fold the parachute in
half long ways to surround the shroud lines. Fold
the parachute again – this time the other way – to
shorten the whole package and insert first the
shock cord and then the folded parachute into the
rocket. Slide on the nose cone.
C. Install the motor by sliding it into the motor
mount tube and clipping the engine hook around
the end to keep it from blowing out.
D. Insert and secure the igniters as directed in the
engine's instructions.
At this point the assembly of the rocket is complete
and the rocket is ready for flight. Continue to follow
the countdown and launch procedures.
Countdown and Launch Procedure
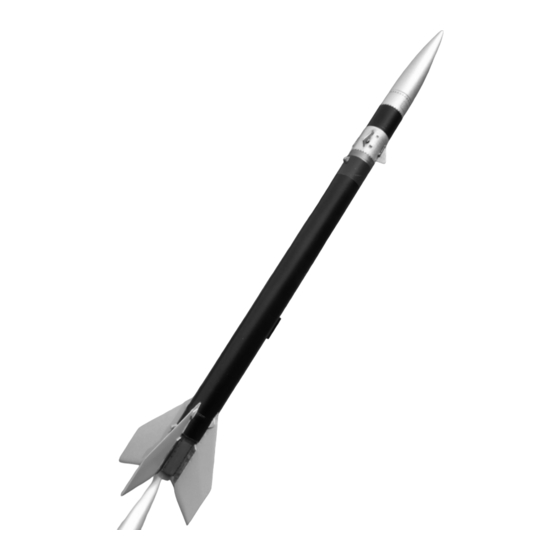
The Black Brant VC flies well on a variety of 18mm motors to a wide variety of altitudes. Choose a motor that is
appropriate for the available field and winds. The area around the launch pad should be free from dry grass and
other fire hazards, and the pad should be as far from trees, powerlines and low-flying planes as possible.
Remove the safety key from the launch controller if it was stored there.
1. Place the rocket on the launch pad. The rocket should slide freely along the rod.
2. Attach the clips to the igniter wires. The clips must not touch either each other or the metal blast deflector.
Otherwise, a misfire is likely.
3. Stand back from the rocket as far as the launch wire allows ( a minimum of 40 feet for motors E or larger ).
4. Insert the safety key to arm the launch system.
5. Give a loud countdown! 5... 4... 3... 2... 1... LAUNCH
6. Press and hold the button until the engine ignites. Once the rocket is away, remove the safety key.
Misfire Procedure
A misfire is when an engine does not light after the launch button is pressed. This is sometimes a result of the
igniter burning but failing to light the engine. At other times, the igniter will not burn at all (this is often indicative
of a short between the clips). To deal with a misfire safely, remove the safety key from the launch controller and
wait a full minute (60 seconds) prior to approaching the pad. Check that the igniter wires or clips were not touch-
ing, causing a short. If they were, the short can be corrected and a launch attempted again. If the engine simply
failed to light, remove the old igniter and install a new one. Make sure that the igniter is installed all the way into
the engine and that it is in contact with the propellant. Always follow the NAR (National Association of Rocketry)
Model Rocket Safety Code when launching model rockets.
*Kevlar® is a brand name of E.I. DuPont for their selection of aramid fibers. Only DuPont makes Kevlar®.
Page 16
A
B
C
D
