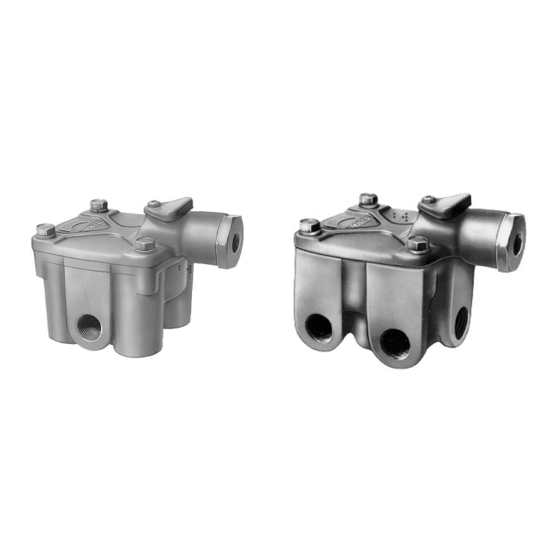
BENDIX R-14V Handleiding voor installatie-instructies - Pagina 5
Blader online of download pdf Handleiding voor installatie-instructies voor {categorie_naam} BENDIX R-14V. BENDIX R-14V 6 pagina's. Universal service replacement relay valves kit
Ook voor BENDIX R-14V: Handmatig (6 pagina's)

PREPARATION
1. Block all vehicle wheels.
2. Drain air pressure from all reservoirs.
3. Locate valve to be replaced: note method of mounting.
4. If valve is bracket mounted:
A. Note position of bracket relative to supply port
(reservoir connection).
B.Determine mounting position of bracket on R-12
or R-14
valve.
®
C. Remove two cap screws from valve cover, mount
bracket and retorque cap screws to 80-120 in-lbs.
(DO NOT REMOVE ALL FOUR CAP SCREWS
FROM COVER AT THE SAME TIME.)
5. If valve is reservoir mounted:
A. Discard bracket.
B. Check the reservoir port size. If an R-12V or R-14V
valve is to be installed and the reservoir port is larger
than 1/2" P.T., a reducer bushing will be required.
C. Mount the R-12V or R-14V using a 1/2" heavy wall
steel nipple. Use a "Teflon" pipe thread sealant on
both ends of the nipple to prevent thread damage
when removal is necessary.
6. Identify and mark all lines to valve as follows:
A. Service port (from brake valve or control valve).
B. Supply port (from reservoir).
C. Delivery ports (from chambers).
7. Remove air lines, then valve.
To facilitate installation the following fittings may be used:
Reducer Bushings
Thread Size
Piece Number
3/4" to 1/2"
1/2" to 3/8"
1/2" to 1/4"
1/2" NPT Pipe Nipple (Heavy Duty)
Length
Piece Number
1-1/2"
234680
230808
230130
212324
INSTALLATION
8. Install the R-12 or R-14 valve. If bracket mounted,
secure to frame. If reservoir mounted, use small
amount of pipe sealant on reducer bushing and/or
nipple as necessary.
9. Select and install air lines, using necessary fittings
and a small amount of pipe sealant. Plug all unused
ports and remove and discard the cardboard protector
®
from the exhaust port of the R-12 or R-14, if it is so
equipped.
10. Before placing the vehicle in service, close all reservoir
ports and perform the following tests:
A. Full charge the vehicle air system and adjust the
vehicle brakes.
B. Make several brake applications and check for
prompt application and release of the brakes at
the appropriate wheels.
C. Make and hold a brake application and check all
R-12 or R-14 fittings for excessive leakage with
a soap solution. Tighten fittings as required.
5
