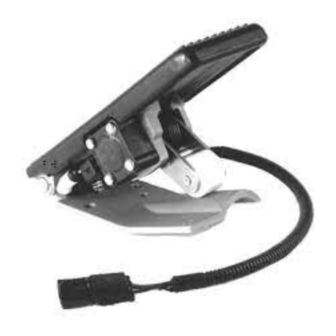
BENDIX ET-2 ELECTRONIC THROTTLE Handmatig - Pagina 7
Blader online of download pdf Handmatig voor {categorie_naam} BENDIX ET-2 ELECTRONIC THROTTLE. BENDIX ET-2 ELECTRONIC THROTTLE 9 pagina's. Electronic treadle

5. The installation of the remaining components is much
easier if the inner and outer springs (12 & 13) are
compressed and caged. This can be done with a short
piece of wire, or even a paper clip. The springs should
be compressed so that their ends are approximately
one inch apart.
6. Place the spring support (14) inside the caged spring
assembly. Then insert the springs into the roller
assembly (15). The curved ends of the springs fit over
the small bar directly behind the roller.
7. In order to install the lever shaft (4), the roller assembly,
with its springs and spring support, and the washers
(5 & 7) must be aligned. This can be done by resting
™
the ET-2
treadle on its side, with the smaller ear of the
treadle facing up. Insert the washers as shown in Figure
4. Washer (5) has the larger diameter (.520"). While
holding the roller assembly in place, push the lever shaft
through the treadle ears.
8. With the ET-2
™
treadle on its side, as mentioned above,
the lever shaft should protrude from the treadle with its
snap ring groove visible. Secure the lever shaft with its
snap ring (8).
9. Turn the ET-2
™
treadle upright. Place the potentiometer
(2) in the position shown in Figure 4, with its connector
facing the rear of ET-2
potentiometer with its screws (3). Torque to 20 inch
pounds (+/-5).
10. Install the treadle cover (1) and cable assembly as shown
in Figure 4. Clip the wire from the spring assembly so
that the straight end of the springs rest against the
underside of the treadle.
11. Make sure the ET-2
™
movement. Also, perform Operational Test steps 3-7
before installing the ET-2
™
12. Install the ET-2
treadle on the vehicle.
™
treadle. Secure the
treadle has smooth, even treadle
™
treadle.
7
