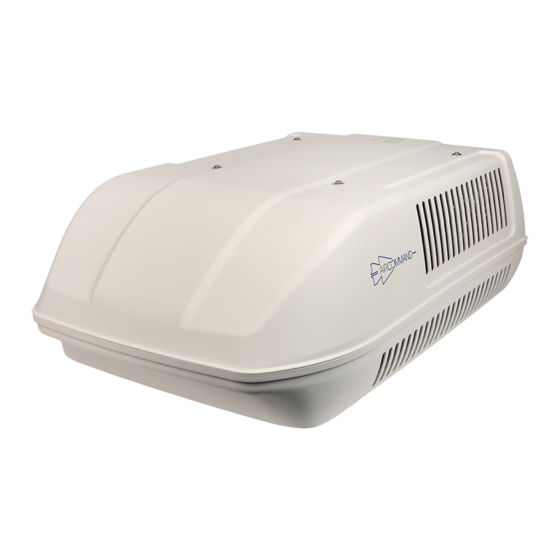
Aircommand Cormorant MKII Handleiding voor installatie en gebruik - Pagina 10
Blader online of download pdf Handleiding voor installatie en gebruik voor {categorie_naam} Aircommand Cormorant MKII. Aircommand Cormorant MKII 16 pagina's. Aircommand cormorant mkii rooftop air conditioner

- 1. Owners Manual
- 2. Warranty of Refrigerated Airconditioning
- 3. Serial Number
- 4. Main Components
- 5. Before Installation
- 6. Installation Position
- 7. Direction of Travel
- 8. Rear of Unit
- 9. Connect Electrical Supply
- 10. Installation Is Now Complete
- 11. Commissioning of the Unit
- 12. Maintenance
- 13. General Specifications
- 14. Display Setting
9. ATTACH DUCT TO UNIT
- Raise the brace assembly and slip the
extension
duct
over
diameter of the spigot underneath the
rooftop unit. (Fig 11 & 12).
When attaching the duct to
the unit take care to ensure it
forms a tight, unbroken seal
that doesn't allow discharge air to
escape.
- Engage and tighten the four M8 bolts
with the threaded inserts in the rooftop
unit.
- Recommended tightening torque of
the bolts is 7 N.m (5.2 lb-ft). As a rough
guide the bolts should be tightened so
that the unit compresses the roof seal
gasket to approximately half its height.
- As the bolts are tightened ensure that
the hold down bars slot into their
recesses in the brace (Fig 12).
10. ATTACH PLENUM COVER
- Connect the main cover of the plenum to
the duct by attaching the blue suspension
cord to the lug on the inside of the cover
(Fig 13). Reach into the unit, grab the
control cable plug and pull down to
-This will allow you to use two hands to
connect the control cable (see Fig 14).
- Connect the key pad control cables
together (see below). Be sure that the plug
joins the corresponding wire colours
together (yellow to yellow, red to red etc.)
Failure to properly plug the
control cables together correctly
will result in loss of power to
display
the
outside
Fig 11: Raise the duct assembly up to the roof hole, ensuring the paper extension duct work
Fig 12: Then engage the four M8 bolts, taking care to ensure the hold down bars slot into their
forms a tight fit around the spigot underneath the unit.
recesses
Fig 13: Shows the positioning of the lug inside the plenum
cover
Pull the suspension cord down from inside the unit and
hook it through the lug shown inside the plenum housing.
This will allow two free hands to connect the control cables
together.
Ensure hold down bars
engage in recess
