Great Little Trading L5240 Snelstarthandleiding - Pagina 6
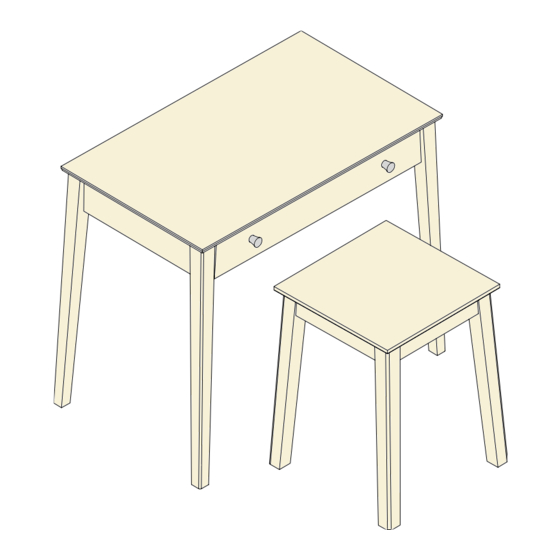
Blader online of download pdf Snelstarthandleiding voor {categorie_naam} Great Little Trading L5240. Great Little Trading L5240 9 pagina's. Isla dressing table & stool

Hardware for Step 3:
2x #6 Flat Runners (Left & Right)
6x #5 Screws (14mm)
BACK
(holes on panel edge)
#5
#6
STEP 3:
Attach the 2x flat runners (#6) to drawer support panels (C & D).
The support panels and the runners have left and right versions, so please note the
positioning guidance to ensure the drawer closes correctly.
Take drawer support panel C and orientate as shown with drill holes facing up and
note the back end of the panel with drill holes in the short edge. Take a flat runner
(#6) and position it so that the wheel of the runner is in the front corner of panel C
and the drill holes in the panel align with the holes in the runner. Insert 3x screws (#5)
into the holes in the runner as shown.
The wheel itself must be in the front corner. If it is not in the correct position or the holes do
not align, try the other runner.
REPEAT with drawer support panel D and note the front and back of the panels
are the other way around. Again, attach the runner so that the wheel is in the front
corner using 3x screws (#5).
Ensure the screws are fully inserted to ensure the drawer runs smoothly.
FRONT
#5
#5
#6
C
(holes on panel edge)
D
#5
#5
FRONT
STEP 4:
Take drawer support panel C and push onto the cam lock
hardware on the right-hand side of the desk top (when
facing).
The runner should be sitting at the top edge with the wheel at
the front of the unit.
When in place insert 2x cam locks (#7) into the large drill
holes on the panel and turn clockwise to secure.
Insert 2x barrel nuts (#8) into the smaller holes at the
#5
back of panel C. Ensuring the holes are facing the back
panel.
Now, insert 2x 40mm cross head bolts (#9) through the
back panel of the dressing table top and into panel C.
Fully tighten both bolts.
BACK
Repeat ALL of these steps with drawer
support panel D that should be
attached to the left-hand side of the
dressing table top (when facing).
#9
#9
6
#8
#9
#8
#9
#9
C
#7
#8
#7
#7
A
#8
D
#7
#7
Hardware for Step 4:
4x #7 Cam Locks
4x #8 Barrel Nuts
4x #9 Cross Head Screws
(40mm)
Using Cam Locks:
When inserting into the panel,
ensure that each cam lock's
arrow is pointing towards the
drill hole on the side edge of the
panel & the dowel that it will be
receiving. When the panels are
in the connected position, using
a screwdriver, turn the cam lock
in a clockwise direction to lock
and secure.
