Agriframes 40540-TB Montage-instructies - Pagina 3
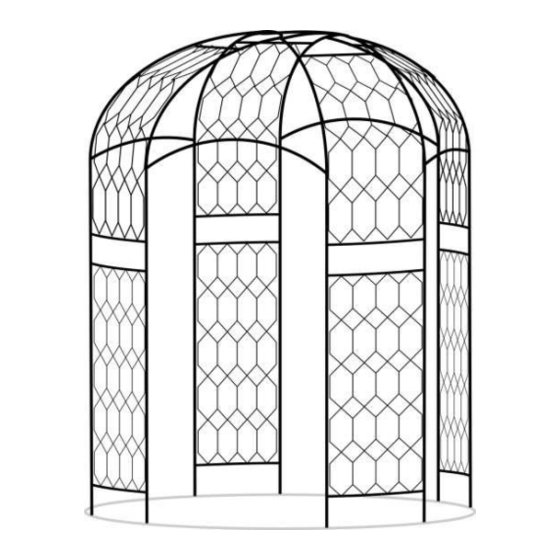
Blader online of download pdf Montage-instructies voor {categorie_naam} Agriframes 40540-TB. Agriframes 40540-TB 4 pagina's. Classic extra round gazebo matt black 3m

6. Repeat this process until there are 4setsof full curves created.
7. Using 4 Opto Joints connect the Top curves together,
as shown in Figure 2.
8. The easiest way to ensure that the full curves are
connected evenly is to haveoneor2peoplealign the
curves to form theshapeshowninfigure2, with the
straight part of the curve resting on the floor. Once the
curves are held in position another person should
connect the top curves atthe11 and1o'clock positions,
using the Opto Joints.
9. Once completed the curves will form a structure as
Shown in Figure3.
Attach the Stafford Curves...
10. Tap an end plug into the ends of the Stafford curves, repeat this action with all 4 Stafford
curves.
11. Attach, using Opto Joints, the Stafford Curves in the gaps between the Top Curves. Leave 1"
of the Stafford curve protruding from theclamp.Theclampshouldbepositioned1" from the
bottom of the Round Curves, as illustrated in Figure 4.
12. Ensure that once you have completed the construction of the Gazebo top, that you check
the distance between the ends of the curves are equal.
Figure4: Positioning of the Stafford Curves
O If the distances are not equal adjust, as
Necessary, the clamps' positioning on the Top Curves (refer toFigure1), and tighten
the clamps.
Agriframes, Journal house, Hartcliffe Way, Bristol, BS3 5RJ
Figure3: Gazebo Curves once connected
Order line: 01179341790, Fax: 01179341791
Orderon-line:www.agriframes.co.uk
Figure2: Aerial View of the Gazebo Full Curves
Connecting
Figure5: Aerial View of Completed Gazebo Top
