HiB Laser Beknopte handleiding - Pagina 3
Blader online of download pdf Beknopte handleiding voor {categorie_naam} HiB Laser. HiB Laser 4 pagina's. Recessed cabinets
1.
Replace Caps & Diffusers
Fixing into recess
(Fig E)
Recessed Installation
Before installation, ensure the construction of the partition wall is suitable to allow the cabinet to fit
tightly into the recess. The cabinet should be placed in a suitable location, (according to the zonal
diagram (Fig. 1) on the back page). Ensure that the domestic electrical mains supply is within reach of the
electrical connection point of the cabinet.
1.
Remove caps using a suitable screw driver, then remove diffusers & light tubes. (See fig. D).
2.
Position the cabinet in the recess, and mark the positions of the fixing holes of the cabinet using a
soft pencil. Then remove from wall.
3.
See stage 3 of the wall hung installation process opposite.
4.
Connect the domestic mains supply according to the wiring diagram (Fig. 2) on the back page.
5.
Slot cabinet into recess and using a suitable screwdriver, screw cabinet onto stud wall. (See Fig. E).
6.
Replace lighting tubes & diffusers and replace top & bottom caps with supplied square caps for
recessed mounting. (See fig. D2).
7.
Follow stage 11 to 13 of the wall hung installation process opposite to complete installation.
Operating Instructions
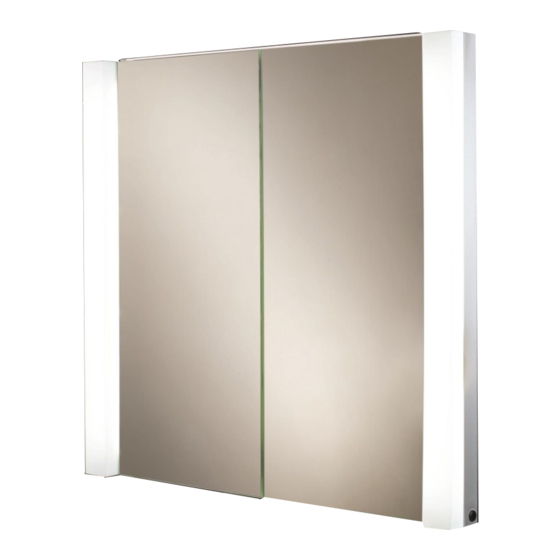
To turn illumination on or off, wave hand past the sensor switch on the right side of the cabinet.
To operate charging socket, use pull cord located next to socket. Socket is suitable for recharging
toothbrushes, shavers and trimmers. NB. On first use of the charger socket, reasonable force may be required
to fully insert the plug. Hold the cabinet firmly so that it is not pushed off the wall. After a few uses, stiffness will
ease.
Lamp Replacement
Requires 2x T4 lamps, Max 22W
CAUTION: Allow at least 30 minutes after lamp failure before replacing. Ensure the domestic electrical
mains supply to which the product is connected is turned off.
1. Remove top or bottom caps using a suitable screw driver. Then remove diffusers & light tubes.
2. Place new lighting tubes, then replace diffusers and top or bottom caps.
2.
(Fig D)
Shelf Adjustment
(Fig F)
Move door(s) up/down
Move door away/towards
the cabinet
Move door(s) left/right
Door Adjustment
(Fig G)
3
hib.co.uk