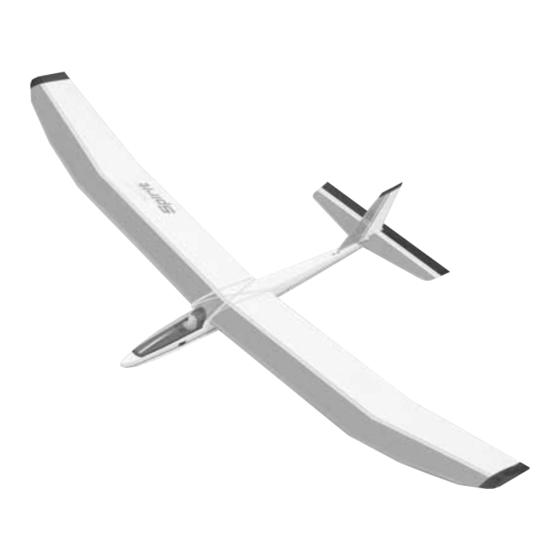
GREAT PLANES Spirit Select Gebruiksaanwijzing - Pagina 6
Blader online of download pdf Gebruiksaanwijzing voor {categorie_naam} GREAT PLANES Spirit Select. GREAT PLANES Spirit Select 8 pagina's. 2-meter sailplane

operation and away from houses, buildings and streets. A
schoolyard may look inviting but it is usually too close to people,
power lines and possible radio interference.
If you are not thoroughly familiar with the operation of R/C models,
ask an experienced modeler to check to see that you have the
radio installed correctly and that all the control surfaces do what
they are supposed to.
Range Check Your Radio
Wherever you do fly, you need to check the operation of the radio
before every time you fly. This means with the transmitter antenna
collapsed and the receiver and transmitter on, you should be able
to walk at least 100 feet away from the model and still have control.
Have someone help you. Have them stand by your model and,
while you work the controls, tell you what the various control
surfaces are doing.
AMA SAFETY CODE (excerpt)
Read and abide by the following Academy of Model Aeronautics
Official Safety Code excerpt:
General
1. I will not fly my model aircraft in competition or in the presence
of spectators until it has been proven to be airworthy by having been
previously successfully flight tested.
2. I will not fly my model aircraft higher than approximately 400 feet
within 3 miles of an airport without notifying the airport operator. I
will give right of way to, and avoid flying in the proximity of full-scale
aircraft. Where necessary an observer shall be utilized to
supervise flying to avoid having models fly in the proximity of full-
scale aircraft.
3. Where established, I will abide by the safety rules for the flying
site I use, and I will not willfully and deliberately fly my models in a
careless, reckless and/or dangerous manner.
Radio Control
1. I will have completed a successful radio equipment ground check
before the first flight of a new or repaired model.
2. I will not fly my model aircraft in the presence of spectators until
I become a qualified flyer, unless assisted by an experienced
helper.
3. I will perform my initial turn after takeoff away from the pit,
spectator and parking areas, and I will not thereafter perform
maneuvers, flights of any sort or landing approaches over a pit,
spectator or parking area.
First of all, if you are flying with other flyers check to make
sure they are not flying or testing on the same frequency as
your model.
FLYING
Try to find an experienced pilot to help you with your first
flights. Although the Spirit Select is very easy to fly, an
experienced pilot can save you a lot of time and possible
aggravation by helping you get your model in the air smoothly.
Trim Flights
It is a good idea to do a couple of trim flights before each flying
session to make sure the plane is still in trim and the radio is
working properly. The model will survive a hard landing from 5 feet
much better than it will one from several hundred feet. The first few
trim flights should be done over a grass field. The longer the grass
the better (more cushion).
Turn on the transmitter first and then the receiver. Hold the Spirit
Select under the wing with the nose pointed slightly down and
directly into the wind as shown in the photo. It is very important that
you launch the model with the wings level and the nose pointing at
a spot on the ground about 50 feet in front of you. Have a friend
stand off to the side of you and tell you whether the nose is pointing
up or down. Show your friend the picture above so he will know
what to look for. If the sailplane is launched with the nose up or
launched too hard it will climb a few feet, stall and fall nose first
straight down. With the nose pointed down slightly the sailplane will
accelerate down until it picks up enough flying speed then level off
and glide forward. The plane should be launched with a gentle
push forward. With a little practice you will be able to launch it at
just the right speed so it soars straight ahead in a long and
impressive glide path. Adjust the trims on your transmitter to get
the plane to fly straight ahead in a smooth glide path.
Once you get the hang of launching it you can try turning the plane
during the trim flights by gently applying a "touch" of right or left
rudder. You can also try "flaring" the landings by slowly applying a
touch of up elevator (pull the stick back) as the plane nears the
ground. The Spirit Select will continue to fly just a few inches off the
ground for a surprisingly long distance. It is important you don't
"over-control" the model. Make any control inputs slowly and
smoothly rather than moving the transmitter sticks abruptly.
Your First Hi-Start Launch
A hi-start is the most popular way to launch your Spirit Select. It
consists of 25' – 100' of rubber tubing and 200' – 400' of string with
a parachute or streamer at the end. One end of the rubber is
staked down directly upwind of the launch point. One end of the
string is attached to the other end of the rubber and the end of the
string with the parachute has a loop or ring and is attached to the
tow hook on the sailplane.
6
