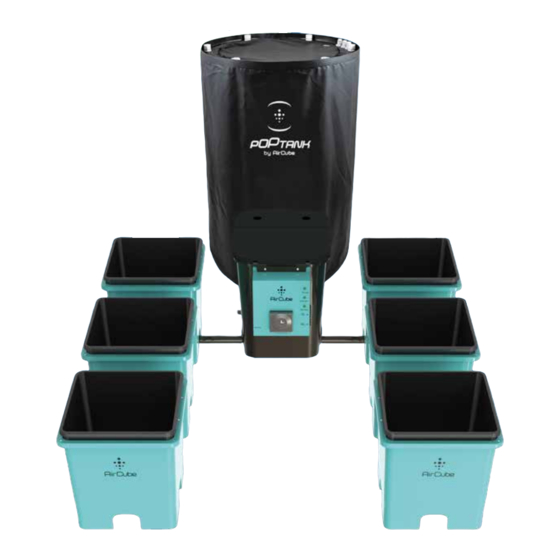
AirCube AC-12HYDROKIT-60G Gebruiksaanwijzing - Pagina 6
Blader online of download pdf Gebruiksaanwijzing voor {categorie_naam} AirCube AC-12HYDROKIT-60G. AirCube AC-12HYDROKIT-60G 8 pagina's. Active oxigen grow system

10
Place one water pump, " Drain Pump," on the inside
bottom of the Brain Controller.
Measure, cut, and connect tubing to attach the Drain-
Pump to the straight connector under the Brain
Controller lid. Ensure that the tubing has sufficient
slack to allow Drain Pump to sit at the bottom of the
Brain Controller
Plug Drain Pump into the outlet on the side of the
Brain Controller labeled "Drain Pump."
Plug the tubing connected to the Fill Pump, in step 1,
to the straight connector not connected to the Drain
Pump, on the top of the Brain Controller lid.
Measure and cut tubing to reach from the straight
connector on the Brain Controller lid to reach the
bottom inside of the reservoir. Attach tubing to the
straight connector on the Brain Controller lid, the one
that is attached to the Drain Pump, and place the
other end of the tubing into the bottom of the reser-
voir.
Step 3: Set up Buckets
Insert grommets into the bottom of each bucket.
Insert T Connectors into the grommets on the bottom
of each bucket.
Set up your bucket configuration.
Cut the tubing into 6 x 2-ft pieces and a 1 x 3-ft piece.
Connect buckets to one another using the tubing. It is
recommended to create a complete loop, with the
3-ft tubing as the connector to the row ends. Howev-
er, if your bucket configuration does not allow for a
full loop the 90 degree Elbow Connectors can be
used for each row end.
Connect the tubing ends to the first 2 straight connec-
tors on the side of the Brain Controller.
11
