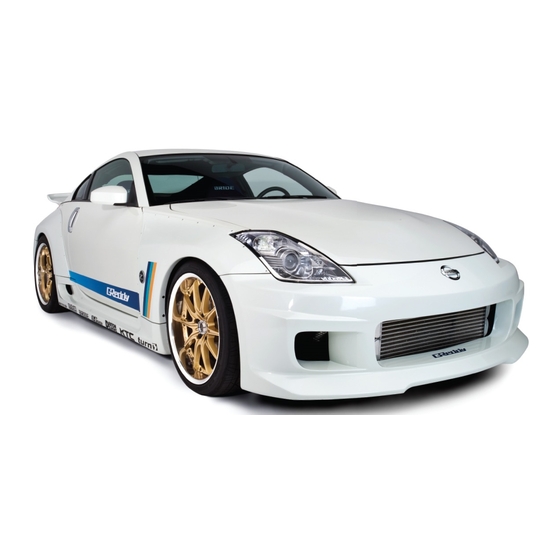
GReddy AERO KIT Installatiehandleiding - Pagina 12
Blader online of download pdf Installatiehandleiding voor {categorie_naam} GReddy AERO KIT. GReddy AERO KIT 12 pagina's. 350z gt aero front bumper

< < < < 350Z Rear Bumper Installation
350Z Rear Bumper Installation> > > >
350Z Rear Bumper Installation
350Z Rear Bumper Installation
This product is meant to fit Nissan 350Z only. Please check the parts before mounting.
Parts List
■ ■ ■ ■
Rear Bumper Cover
Rear Bumper Cover
Rear Bumper Cover
Rear Bumper Cover
Clip Nuts
Clip Nuts ( ( ( ( M6
Clip Nuts
Clip Nuts
Bolts ( ( ( ( M6
Bolts
Bolts
Bolts
M6
M6×
M6
Bumper Bracket
Bumper Bracket
Bumper Bracket
Bumper Bracket
■ ■ ■ ■
Mounting Procedure
Mounting Procedure
Mounting Procedure
Mounting Procedure
1 1 1 1 ) ) ) ) Please follow the manufacturer's repair manual for proper rear bumper removal procedure.
Please follow the manufacturer's repair manual for proper rear bumper removal procedure.
Please follow the manufacturer's repair manual for proper rear bumper removal procedure.
Please follow the manufacturer's repair manual for proper rear bumper removal procedure.
2 2 2 2 ) ) ) ) Transfer the
Transfer the Rear turn sign
Rear turn signal, al, al, al, reverse lamp and license plate lamp/rear hatch opener assembly onto the rear bumper.
Transfer the
Transfer the
Rear turn sign
Rear turn sign
3 3 3 3 ) ) ) ) Transfer the factory mounting clips onto the rear bumper and by using the factory bolt in screws, mount the rear bumper.
Transfer the factory mounting clips onto the rear bumper and by using the factory bolt in screws, mount the rear bumper.
Transfer the factory mounting clips onto the rear bumper and by using the factory bolt in screws, mount the rear bumper.
Transfer the factory mounting clips onto the rear bumper and by using the factory bolt in screws, mount the rear bumper.
4 4 4 4 ) ) ) ) Reinstall the taillights. This completes the installation.
Reinstall the taillights. This completes the installation.
Reinstall the taillights. This completes the installation.
Reinstall the taillights. This completes the installation.
Note 1 : This job is recommended for 2 people.
Note 2 : Temporarily install the bumper to check fitment before painting.
×
×
× ×
M6) ) ) )
M6
M6
× ×
×
×
× ×
× 16
16 16
16) ) ) )
×
× ×
×
×
×
× ×
reverse lamp and license plate lamp/rear hatch opener assembly onto the rear bumper.
reverse lamp and license plate lamp/rear hatch opener assembly onto the rear bumper.
reverse lamp and license plate lamp/rear hatch opener assembly onto the rear bumper.
1 1 1 1
2 2 2 2
4 4 4 4
2 2 2 2
