Celestron 11090 Gebruiksaanwijzing - Pagina 4
Blader online of download pdf Gebruiksaanwijzing voor {categorie_naam} Celestron 11090. Celestron 11090 20 pagina's. Telescope and equatorial mount

1.
Place the accessory tray on the center support brace of
the tripod and align the holes on the tray with those on
the support brace.
2.
Insert the wingnut screws through the bottom of the
tripod support brace and thread them into the accessory
tray holes (See figure 3).
With the accessory tray in place, the tripod will be much
more stable, making it easier to attach the telescope.
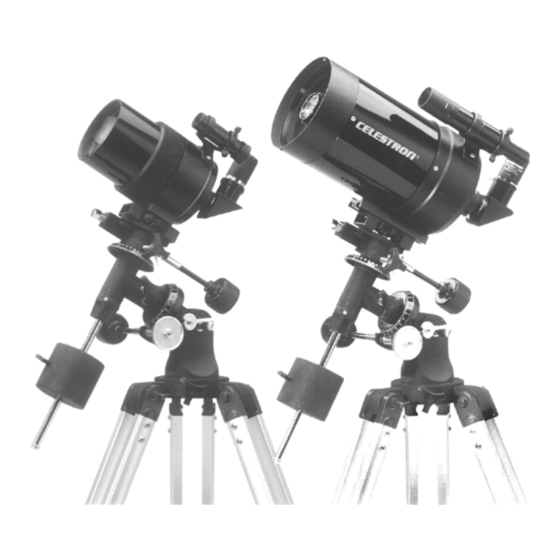
Installing the Counterweight Bar
With the mount securely in place, you are ready to attach some of the accessories (the telescope tube will be
added last). Start with the Counterweight Bar and Counterweight. Used to balance the telescope, the
Counterweight Bar attaches to the opposite side of the mount as the telescope. To install the Counterweight
Bar:
1.
Locate the exposed threads on the end of the Counterweight Bar.
2.
Thread the Counterweight Bar into the declination shaft of the mount. It threads into the mount
opposite the telescope tube.
The Counterweight Bar is now installed.
Installing the Counterweight
With the counterweight bar in place, you are ready to attach the counterweight.
1.
Remove the safety thumbscrew on the end of the counterweight bar.
2.
Loosen the counterweight lock screw (on the counterweight itself) so that the central hole of the
counterweight is unobstructed.
3.
Slide the counterweight onto the counterweight bar. Move it forward to the center of the
counterweight shaft.
4.
Tighten the counterweight lock screw to hold it in position.
5. Replace the safety screw on the end of the counterweight bar. The thumbscrew will
prevent the counterweight(s) from sliding off the bar should they ever become loose.
Attaching the Slow Motion Knobs
1.
A slow motion knob is provided for both the Right Ascension and Declination axis.
2. Locate the Right Ascension slow motion shaft (opposite of the chrome spur gear next to the R.A.
setting circle).
4
Figure 3
