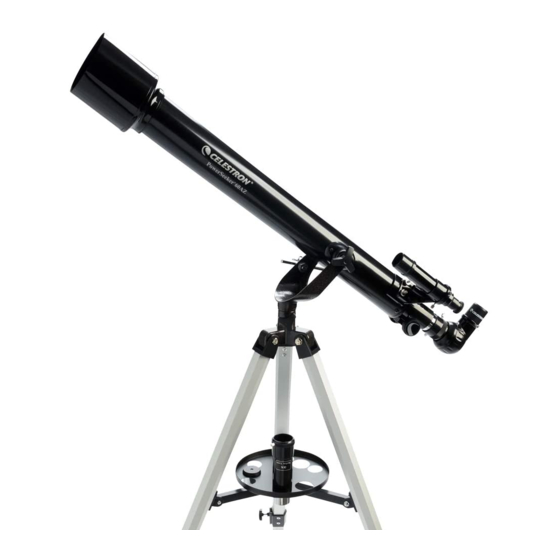
Celestron PowerSeeker 60AZ Gebruiksaanwijzing - Pagina 5
Blader online of download pdf Gebruiksaanwijzing voor {categorie_naam} Celestron PowerSeeker 60AZ. Celestron PowerSeeker 60AZ 9 pagina's. Celestron powerseeker 60: quick setup
Ook voor Celestron PowerSeeker 60AZ: Handleiding voor snelle installatie (2 pagina's), Gebruiksaanwijzing (10 pagina's)

ATTACHING THE TELESCOPE TUBE TO THE MOUNT
The telescope optical tube attaches to the altazimuth mount with the
altitude slow motion rod assembly and the respective knobs. Before starting,
remove the objective lens cap. To mount the telescope tube to the mount:
1. Remove the protective paper covering the optical tube.
2. Put the telescope optical tube inside the yoke
(altazimuth) mount so that the altitude slow motion rod
assembly is on the same side as the altitude locking
screw (see Figure 1-1).
3. Thread the altitude locking knob out so the hole is clear
in the eyebolt (see Figure 2-8).
4. Put the rod of the assembly through the eyebolt and
then tighten the altitude locking knob – Figure 2-9.
5. Thread the two knobs (one on either side of the mount)
through the top of the mount into the threaded holes in
the optical tube and tighten – Figure 2-7.
MOVING THE TELESCOPE MANUALLY
The PowerSeeker Alt-Az mount is easy to move wherever you want to point it.
The up and down (altitude) is controlled by the altitude locking knob (Figure
2-12). The side-to-side (azimuth) is controlled by the azimuth lock knob (Figure
2-12). When both knobs are loose, you can find your objects easily (through the
finderscope) and then lock the controls.
For fine adjustments in altitude, you turn the knurled ring of the altitude slow
motion rod (when the altitude lock is tight) in either direction – see Figure 2-9.
NOTE: Before tightening the altitude locking knob, the location you are
seeking should be located in the finderscope.
4
Figure 2-7
Figure 2-9
Figure 2-12
ALT
AZ
Figure 2-8
