Adena RADA A-BR01 Snelle installatiehandleiding - Pagina 2
Blader online of download pdf Snelle installatiehandleiding voor {categorie_naam} Adena RADA A-BR01. Adena RADA A-BR01 4 pagina's. Record, stream and videoconference with rada bridge

1
2
1. OUTPUT - Connect to a display with HDMI cable.
2. INPUT - Connect a video source with HDMI cable.
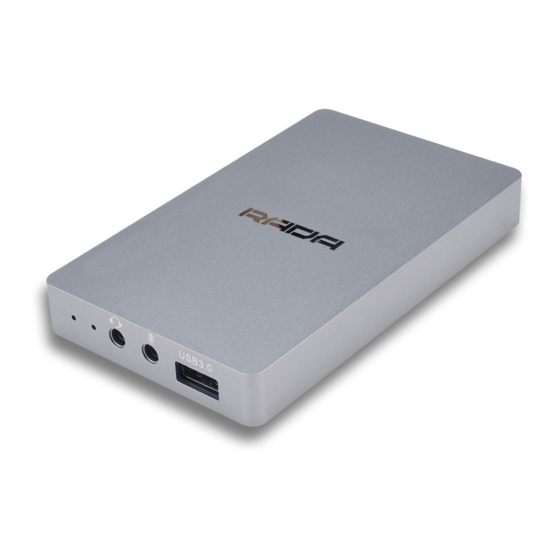
3. USB 3.0 - Connect to a computer with USB 3.0 cable.
4. MIC IN: Connect a microphone (overwrites HDMI sound).
5. HEADSET IN/OUT - Connect a headset for voice over and playback
(does not overwrite HDMI sound)
6. BLUE LED - Stays on when HDMI input is connected.
7. RED LED - Power and status. LED stays on when device has power;
flashes when working.
Skype
Step 1. Connect the BRIDGE to your computer via USB.
Step 2. Open Skype, click on "Settings", and proceed to "Audio & Video".
Step 3. Select "Camera" to be "RADA Bridge".
Step 4. Select "Microphone" to be "Digital Audio Interface (RADA
Bridge)"*.
Step 5. Now connect the device you want to convert to the Bridge.
Done!
CONNECTION DIAGRAM
3
4
5
6
7
