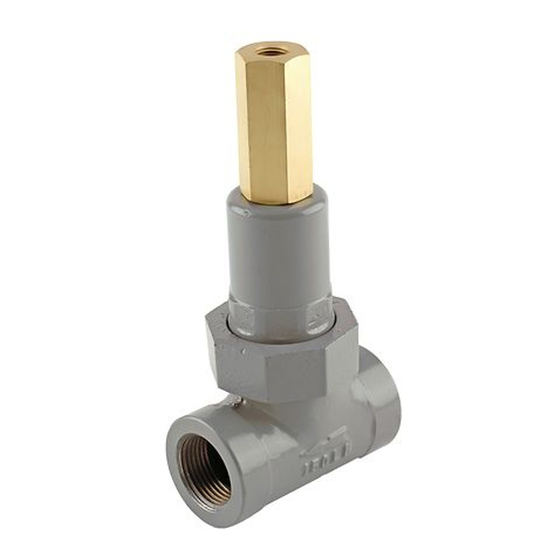
Emerson 1805 Series Gebruiksaanwijzing - Pagina 5
Blader online of download pdf Gebruiksaanwijzing voor {categorie_naam} Emerson 1805 Series. Emerson 1805 Series 8 pagina's. Relief valves

Overpressure
Relief pressure ratings are from 5 to 125 psi / 0.34
to 8.6 bar. The maximum inlet pressure, including
buildup, is 150 psi / 10.3 bar. System operation
within these limitations does not eliminate the
possibility of damage from external sources or
from debris in the gas line. The relief valve should
be inspected for damage regularly and after any
overpressure condition.
Startup
Key numbers are shown in Figure 4. With proper
installation completed and system equipment properly
adjusted, close any vent valves and slowly open the
upstream shut-off valve while using pressure gauges
to monitor pressure.
If set pressure adjustment is necessary, monitor
the inlet pressure with a gauge during the
adjustment procedure.
Adjustment
The range of allowable pressure settings is stamped
on the spring case (Types 1805-2, -4 and -7) or on the
nameplate (Types 1805-3 and -5). If a pressure setting
beyond the indicated range is required, substitute
the appropriate spring. Be sure to label the relief
valve to indicate the new pressure range. Always
use a pressure gauge to monitor pressure when
making adjustments.
1. On Types 1805-2, -3 and -7 remove the closing
cap (key 17).
2. Loosen hex nut (key 15).
3. To increase the relief setting, turn the adjusting
screw (key 14) clockwise. To decrease the relief
setting, turn the adjusting screw counterclockwise.
4. Tighten the hex nut.
Shutdown
Close the upstream shut-off valve and release all
pressure from the relief valve.
Maintenance
!
To avoid personal injury and equipment
damage, isolate the relief valve from
all pressure. Cautiously release
pressure from the relief valve before
attempting disassembly.
Tetraseal
is a mark owned by of Goshen Rubber Company.
®
WARNING
Due to normal wear that may occur in relief valves,
the O-rings and diaphragm must be inspected
periodically and replaced as necessary. The frequency
of inspection and replacement depends upon the
severity of service conditions or the requirements of
state and federal laws. Instructions are given below for
disassembly of the relief valve and replacement of the
O-rings and diaphragm. The 1805 Series relief valves
do not have to be removed from the pipeline to inspect
internal parts. Refer to Figure 4 while servicing the
relief valves.
Disassembly/Assembly
1. To ease spring compression, remove the closing
cap (key 17, Types 1805-2, -3 and -7), loosen
the hex nut (key 15) and turn the adjusting screw
(key 14) counterclockwise.
2. Unscrew the union nut (key 16) and remove it
with the spring case (key 13), spring (key 11) and
upper spring seat (key 12).
3. Pull the O-ring holder (key 4) out of the valve
guide orifice (key 2).
4. Remove the diaphragm cap screw (key 10) from
the O-ring holder. Take off the diaphragm plate
(key 9) and inspect the diaphragm (key 8).
5. Take the machine screw (key 7) out of the
opposite end of O-ring holder, remove the O-ring
washer (key 6) and inspect the O-ring (key 5).
6. Remove the valve guide orifice (key 2) from the
body and check the Tetraseal
7. Reassemble the relief valve in reverse order of
the above steps. To ensure proper slack in the
diaphragm, tighten the union nut finger-tight only.
Turn the adjusting screw clockwise to apply some
spring force to the diaphragm. Complete the
tightening of the union nut.
Parts Ordering
When corresponding with your local Sales Office or the
factory concerning these relief valves, include the type
number and all other pertinent information stamped
on the spring case, closing cap or on the nameplate.
Specify the eleven-character part number when
ordering new parts from the following parts list.
When ordering replacement parts, reference the key
number of each needed part as found in the following
parts list. Separate kit containing all recommended
spare parts is available.
1805 Series
O-ring (key 3).
®
5
