Copernicus STEM100 Montagehandleiding - Pagina 12
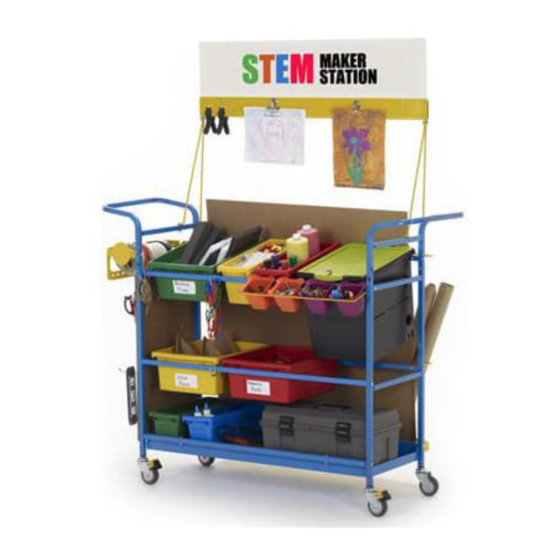
Blader online of download pdf Montagehandleiding voor {categorie_naam} Copernicus STEM100. Copernicus STEM100 16 pagina's. Maker station
Ook voor Copernicus STEM100: Montagehandleiding (18 pagina's)
Actual Size:
8
You will need: (Not to Scale)
Allen Key
x1
Attach Left and Right Sign Rods
Actual Size:
9
You will need: (Not to Scale)
Allen Key
1x
2-Person Task
Attach the Top Metal Channel to the Sign Rods
BACK
Install sign so metal loops
are facing back of cart.
12
C
x4
Adjustable wrench
x1
C
H
E
x2
I
E
FRONT
STEM100_STEM102 - Version B - Released October 23, 2019 - Copernicus Educational Products Inc.
H
x4
Sign Rod - Left
x1
Top tabs should be facing inwards
H
C
I
x2
Not Dry Erase
Sign Rod - Right
x1
C
H
C
H
Coroplast Sign
x1
The sign is a
great place to
display work or
to personalize
your station.
I
E