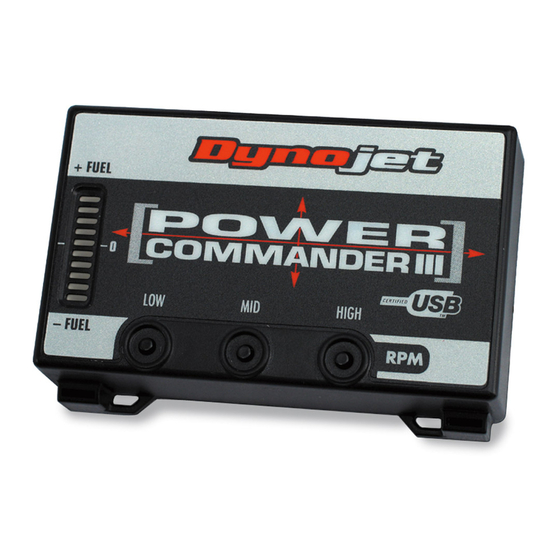
Dynojet Power Commander III Installatie-instructies - Pagina 2
Blader online of download pdf Installatie-instructies voor {categorie_naam} Dynojet Power Commander III. Dynojet Power Commander III 3 pagina's. Fuel adjustment
Ook voor Dynojet Power Commander III: Installatie-instructies (4 pagina's), Installatie-instructies (3 pagina's), Installatie-instructies (4 pagina's), Installatie-instructies (5 pagina's), Installatie-instructies (5 pagina's), Installatie-instructies (3 pagina's), Installatie-instructies (3 pagina's), Installatie-instructies (4 pagina's), Installatie-instructies (3 pagina's), Installatie-instructies (3 pagina's), Installatie-instructies (5 pagina's), Installatie-instructies (3 pagina's), Installatie-instructies (3 pagina's), Installatie-instructies (3 pagina's), Installatie-instructies (3 pagina's), Installatie-instructies (3 pagina's), Installatie-instructies (3 pagina's), Installatie-instructies (4 pagina's), Installatie-instructie (5 pagina's), Installatie-instructies (4 pagina's)

