Dynojet POWER VISION 4 Installatiehandleiding - Pagina 2
Blader online of download pdf Installatiehandleiding voor {categorie_naam} Dynojet POWER VISION 4. Dynojet POWER VISION 4 14 pagina's. 2018 can-am x3 900 ho 2017-2022 can-am x3 turbo 2017-2022 can-am x3 turbo r 2020 can-am x3 turbo rr 2018-2021 can-am maverick trail 800 2018-2023 can-am maverick trail 1000 2019-2023 can-am maverick sport 1000 2015-2018 can-am maverick 1000r 2015-2017 can
Ook voor Dynojet POWER VISION 4: Installatiehandleiding (10 pagina's)

INTRODUCTION
Blue LED—Bluetooth Status
On is connected to Bluetooth.
Off is not connected.
Red LED—Communication
Solid red is communication on bus.
Rapid fl ashing is recovery mode.
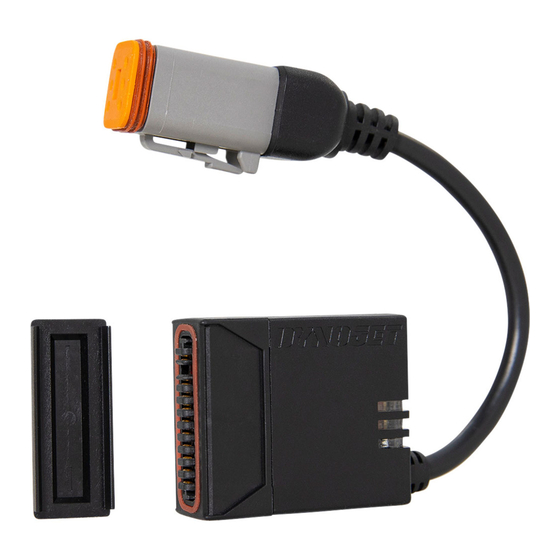
76951077 Can-Am
Refl ash Harness
LOCATING THE DIAGNOSTIC CONNECTOR
Maverick X3 Models
The diagnostic connector is located
under the glove box lid. Note: Remove
the diagnostics port holder and insert
the Power Vision cable to hold the cable
securely in place.
2 POWER VISION 4
Green LED–Power
Short blink is power.
Long blink is connected to ECU.
76950998 Can-Am
Adapter Cable
X3 to Maverick
The diagnostic connector is located under
the dash to the left of the steering column.
Thank you for purchasing the Power Vision 4 (PV4) from
Dynojet Research. The Power Vision 4 is the most fl exible
and powerful fl ash tuning device in the world. The Power
Vision 4 uses refl ash technology to change the parameters
inside the stock Engine Control Unit (ECU) that affects the
way the engine will run.
The Power Vision 4 has three indicator lights:
• Red LED—Communication. Solid red is communication on
bus; rapid fl ashing is recovery mode.
• Green LED—Power. Short blink is power; long blink is
connected to ECU.
• Blue LED—Bluetooth status. On is connected to Bluetooth;
off is not connected.
After the vehicle has been fl ashed, the Power Vision 4
does not need to remain connected to have full benefi ts of
the device, however, the Power Vision 4, paired with your
phone and the Dynojet PV4 app, provides a window into
your vehicle. Gain access to customizable gauge screens,
along with data logging screens and troubleshooting of
Diagnostic Trouble Codes.
For state of the art technical support, please email
Trail Models
Maverick Models
The diagnostic connector is located
near the fuse box. Note: Remove the
diagnostics port holder and insert the
Power Vision cable to hold the cable
securely in place.
INSTALLATION AND USER GUIDE
