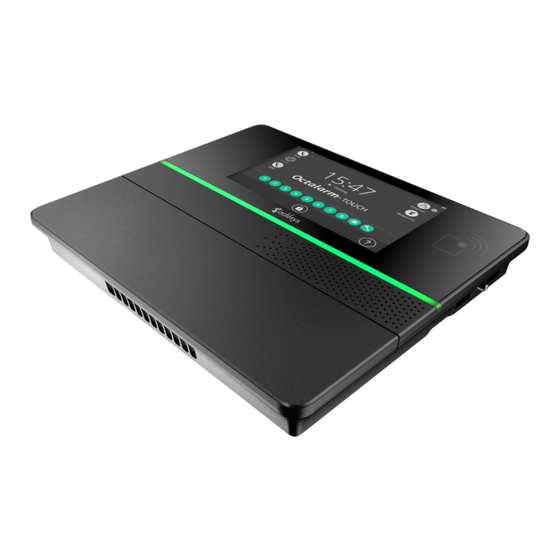
Adesys Octalarm-Touch Snelstarthandleiding - Pagina 4
Blader online of download pdf Snelstarthandleiding voor {categorie_naam} Adesys Octalarm-Touch. Adesys Octalarm-Touch 6 pagina's.
Ook voor Adesys Octalarm-Touch: Snelstarthandleiding (6 pagina's)

3.4.
PSTN configuration
You can connect the dialler to PSTN in 2 ways:
1. via a private PSTN line;
2. via a shared PSTN line with other equipment, such as a fax
machine.
•
In both situations, connect the PSTN line to the "Line" (RJ11)
socket.
•
Connect any other equipment to the "Phone" (RJ11) socket.
In this way, the PSTN line is never busy for alarm calls. However,
due to a "Line-Seize" relay, all other PSTN devices temporarily
lose their connection during alarms.
Caution: check the operation of the "Line Seize" relay
immediately after installation and perform this test periodically.
3.5.
Antenna
•
Connect the desired antenna to the primary SMA connector
(upper). You can use the supplied antenna (AA-114) if
required.
•
In case of poor reception conditions, a diversity antenna can
be connected to the lower SMA connector.
3.6.
GSM module
Each dialler has a GSM module with an unactivated SIM card. You
can activate this SIM card during onboarding (conclusion of the
Octalarm Connect service).
Inserting your own SIM card
•
Remove the GSM module from the device.
•
Replace the SIM card on the back of the GSM module for your
own SIM card (4G with LTE Cat-M1 band).
•
Slide the module back into the GSM compartment until it
clicks.
3.7.
EM-8001 (external module): number of inputs increased
The EM-8001 can be used to extend the number of inputs on the
Octalarm-Touch to 16 or even 24 (max. 2 modules per alarm).
The EM-8001 is connected to the Octalarm-Touch via the I/O bus
(RS485).
4.
Labels
Label enclosure, Europe (51x25mm)
Label packaging, Europe (71x36mm)
Battery label, Europe (40 x 25mm)
