Jafar 5320 Bedienings- en onderhoudshandleiding - Pagina 12
Blader online of download pdf Bedienings- en onderhoudshandleiding voor {categorie_naam} Jafar 5320. Jafar 5320 15 pagina's. Ball valves
Use strap slings for:
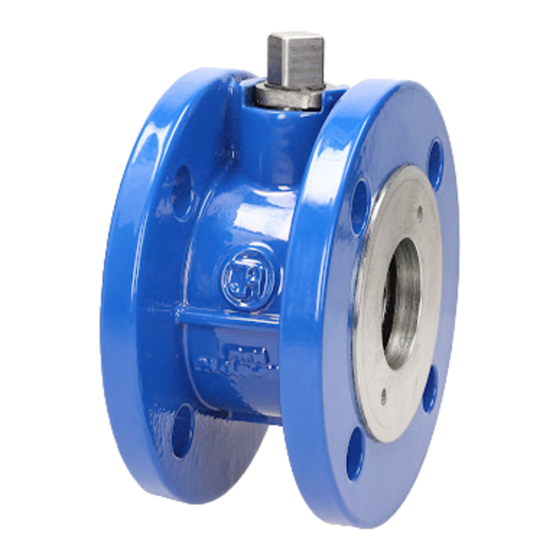
- TYPE 5220, from DN100
- TYPE 5320, from DN80
- TYPE 5321, from DN100
4 ASSEMBLY AND INSTALLATION
4.1 ASSEMBLY GUIDELINES
The TYPE 5220, 5320 & 5321 ball valves can be installed in underground or surface pipelines both in
horizontal or vertical orientation.
The ball valves:
- with flanged ends (TYPE 5220 & 5320), adapted for flanged connection with the pipeline ends that meet the
valve flange dimensions per PN-EN 1092-1:2013 and PN-EN 1092-2:1999;
- with welded ends (TYPE 5321), adapted for welded connection with the pipeline ends that meet the valve welded
end dimensions per PN-EN 12627:2002.
Note that the system must not expose the industrial valve to bending or tensile stress from loading with the
weight of unsupported pipeline sections. Assemble with consideration to pressure and temperature compensation
of the pipeline. The valve assembled and adjusted by the manufacturer is ready for installation.
Disassembly of the valve components without proper care may result in loss of integrity.
4.2 ASSEMBLY INSTRUCTIONS
Before attempting to assemble the valve, check the technical and commercial documents for compliance
of the valve with the purchase order and its intended medium and operating parameters of the pipeline in which
the valve is to be installed. Any change in the operating conditions must be consulted with the valve manufacturer
beforehand.
Before the installation, remove the main bore plugs, verify that the valve is fully open, and inspect the
inner surfaces of the valve, the valve ends and the pipeline ends. There shall be no damage on the valve ends or
misalignment of the valve with the pipeline that may result in unforeseeable installation stress.
- Install the welded ends valves according to the WPS issued by the installation builder and the relevant standards.
When welding the valve to the system, control the overheating zone around the ball seals: if overheating may
occur, periodically cool down the valve body during welding. Operate the valve lever only with the valve fully
cooled down.
- Flanged valves: to install a flanged valve in a new pipeline system, collect 2 (two) flanges in the size of the valve
flange (ref. PN and DN), the flange seals compatible with the system medium, and the bolts, nuts and washers
with the minimum mechanical rating of 6.8. First, locate the flange tangent with the pipeline end and keep the
flange face parallel with the pipeline centreline, while the flange interface is at least 2mm beyond the pipe edge.
Align the flange holes so as to enable free movement of the valve lever when the valve is reinstalled. Tack weld
the flange to the pipe in three places, then girth weld around the entire joint circumference. Use gas or arc welding.
With the flange welded in place on the pipe, apply the flange gasket to the flange face, and bolt down the ball
valve. On the other end of the installation location, locate and align the other flange on the pipe, apply the gasket
and bolt down the pipe flange to the valve flange. Tack weld the other flange at 3 places on the pipe. To girth weld
the other flange to the pipe, remove the ball valve. With the other flange securely welded on the pipe and cooled
OPERATION AND MAINTENANCE MANUAL
01-2016
12