Jägermeister SHOT GLASS FREEZER Gebruikershandleiding - Pagina 2
Blader online of download pdf Gebruikershandleiding voor {categorie_naam} Jägermeister SHOT GLASS FREEZER. Jägermeister SHOT GLASS FREEZER 8 pagina's.
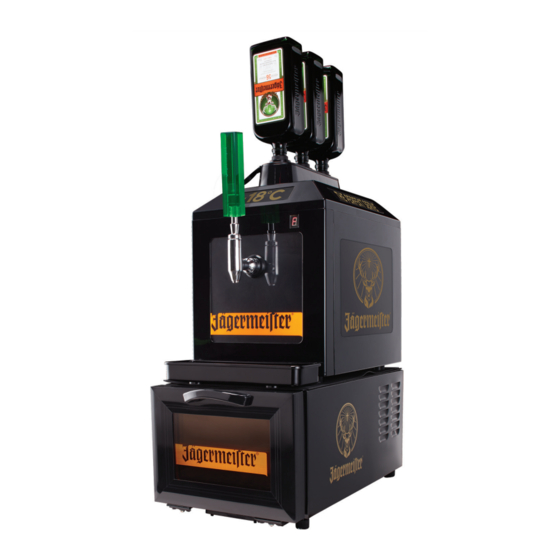
Unpacking and Start-Up Instructions
1. Start by removing the included boxes of shot glasses (if applicable).
2. Remove foam inserts to reveal the freezer.
3. Carefully remove the freezer by lifting it straight up out of the box.
4. Place the freezer in desired location with 4 inches of clearance
on all sides.
5. Before plugging in, make sure the power switch in the back
is in the OFF position.
6. Plug in, and flip the power switch to ON.
7. Place dry glasses in freezer upside down.
8. Place non-skid rubber mat on top of the freezer with logo facing up.
1. Turn off freezer and remove the trays.
2. Wipe down the trays with disinfectant spray; return trays to freezer.
It is normal for frost to appear in the freezer. To remove the layer
of frost, simply turn off the freezer and let it sit while the frost melts.
The frost will automatically drain out of the freezer. It is recommended
you place a towel under the freezer in case of seepage.
It is normal to experience a layer of frost up to 1/8" inch thick.
ALWAYS CHECK TO MAKE SURE THE DOOR IS CLOSED FIRMLY
RETAIN YOUR ORIGINAL BOX AND PACKING
MATERIALS FOR A PERIOD OF 1 YEAR.
THESE ITEMS ARE NEEDED IF YOUR FREEZER
REQUIRES SERVICE OR REPAIRS.
For information on requesting service or repairs, visit:
Thank you for purchasing the Jägermeister
INSTRUCTIONS
Cleaning Instructions
In Case of Frost
www.tapmachine.com
Shot Glass Freezer
®
2