Century K3151-1 Handmatig - Pagina 8
Blader online of download pdf Handmatig voor {categorie_naam} Century K3151-1. Century K3151-1 18 pagina's. Wheel charger 11860 40/20/2/200, 6/12v w/test 11861 60/40/2/250, 6/12v w/test 11862 60/40/30/225, 6/12/24v

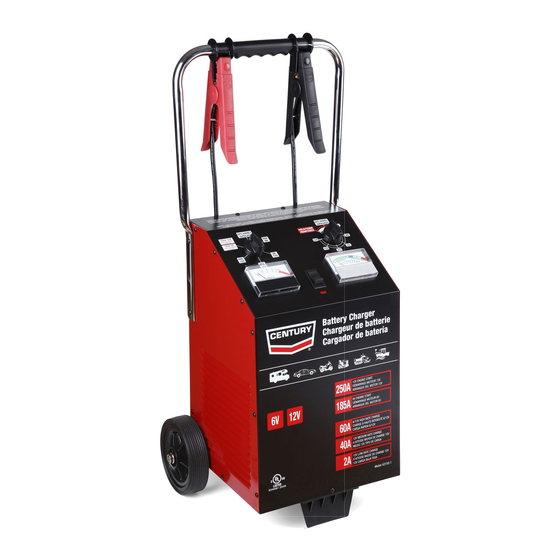
CHARGE RATE SELECTOR switch is a multi position
rotary switch. The available settings, for each charger are
shown in Figure 5.
FIGURE 5.
Charge Rate Selector Switch Settings
OFF
200A 12V
START
130A 12V
START
40A
12V
20A
12V
40 amp model
OFF
250A 12V
START
185A 6V
START
60A
12V
40A
12V
60 amp model
OFF
30A
24V
225A 12V
START
60A
OFF
12V
24V Fleet model
TIMER switch allows the selection of any
charging time, up to 120 minutes. When the selected time
is up, the timer automatically shuts
AMMETER indicates the charging current being drawn
from the charger by the battery. See READING AN
AMMETER in this manual.
VOLTMETER the voltmeter will indicate
voltage whenever the charger is turned on, or when the
clamps are connected to a battery. If connected to a
battery, and the unit is turned on, it will read the combined
voltage of the battery and the charger. If there is no
reading when connected to a battery, check the
connections and/or the battery.
CONTROLS AND INDICATORS
40A
6V
2A
12V
60A
6V
2A
12V
60A
6V
160A 6V
START
40A
12V
CONTROL SETTING INSTRUCTIONS
CHARGE VOLTAGE AND RATE SELECTION
( See Figure 6 and 7)
Set the RATE SELECTOR to the same voltage and charge
rate that is appropriate for the size and type of battery
being charged. Use the battery manufacturer's
instructions or see the guidelines below. If the battery
voltage is not clearly marked on the battery, refer to the
operator's manual for the vehicle/ equipment where the
battery is used / intended to be used. Do not begin
charging if the battery voltage cannot be determined.
The available settings are in Table 1.
Small Motorcycle type
Lawn mower/Tractor
Deep-cycle
Maintenance-free Auto
or Marine
Cranking
Heavy-duty Commercial
Unless the information is supplied for the particular battery,
always charge small 12-volt batteries at no more than
2amps. Not all of these chargers are capable of charging at
2 amps or less. If your charger is one of those, do not
attempt to charge the small 12 volt batteries on that
charger. Charge only standard sized 6 and 12 volt
automobile batteries on those chargers.
NOTE:
The charger ammeter will not taper on 6 volt
settings. Use charging time equations or
charts only to determine the time needed to fully
charge the battery.
TIMER SWITCH SETTING (See Figure 6 and 7)
Set the timer for the length of charging time required to
bring the battery to full charge, as determined in
CHARGING TIME INSTRUCTIONS. When selecting times
less than 20 minutes, turn timer past the 20 - minute mark,
then back to the time desired. Setting the time to charge
starts the charging process. To prevent overcharging, do
not set the timer for more time than it will take to bring the
battery to full charge. If the timer is turned to the left , past
OFF, HOLD is selected. In this position, the charger will
remain ON inde
ly. This position should be used only
when charging at a low rate for extended periods. The
battery can be damaged when being charged for extended
periods, especially at higher amperages.
VOLTMETER/TEST METER TESTING
The VOLTMETER/TEST METER, available in some
models, allows additional testing to be performed. In normal
operation, without the TEST SWITCH pressed, the meter
reads from 0-20 volts dc (0 and 20 are not actually seen on
the meter face but are represented by the ends of the
scale), on the lower scale of the meter. Using this part of
the meter, during charging, the voltage should read:
for 6 volt batteries read 6.5 to 8.5 volts
for 12 volt batteries read 13.5 to 16.5 volts
3 Amps or less
6 Amps or less
25 Amps or less
45 Amps or less
60 Amps or less
)
(See Figure 7
8
